
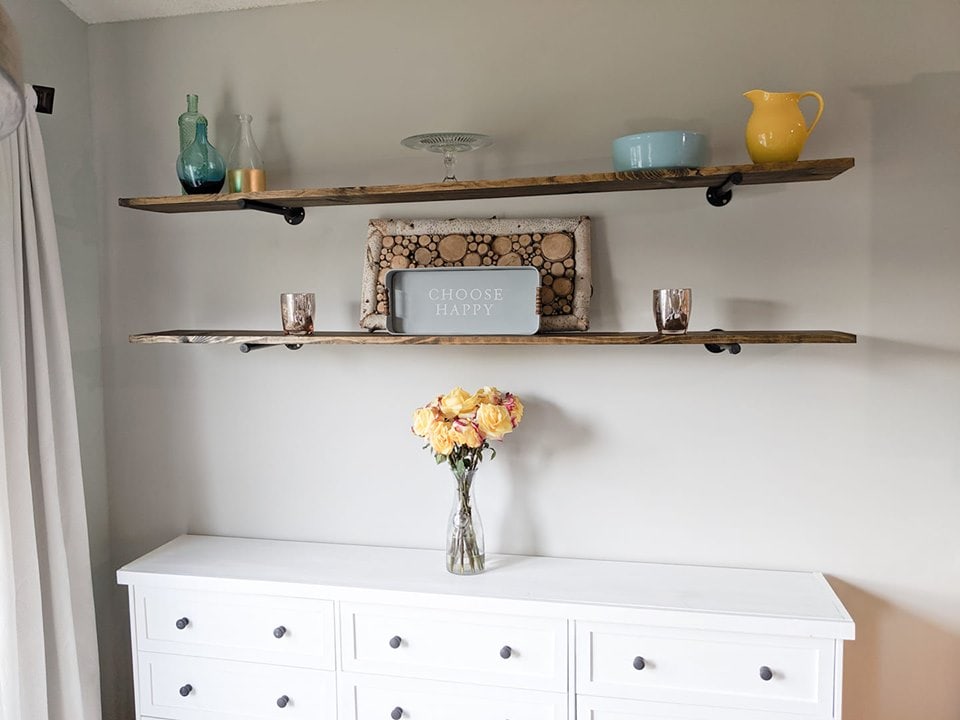
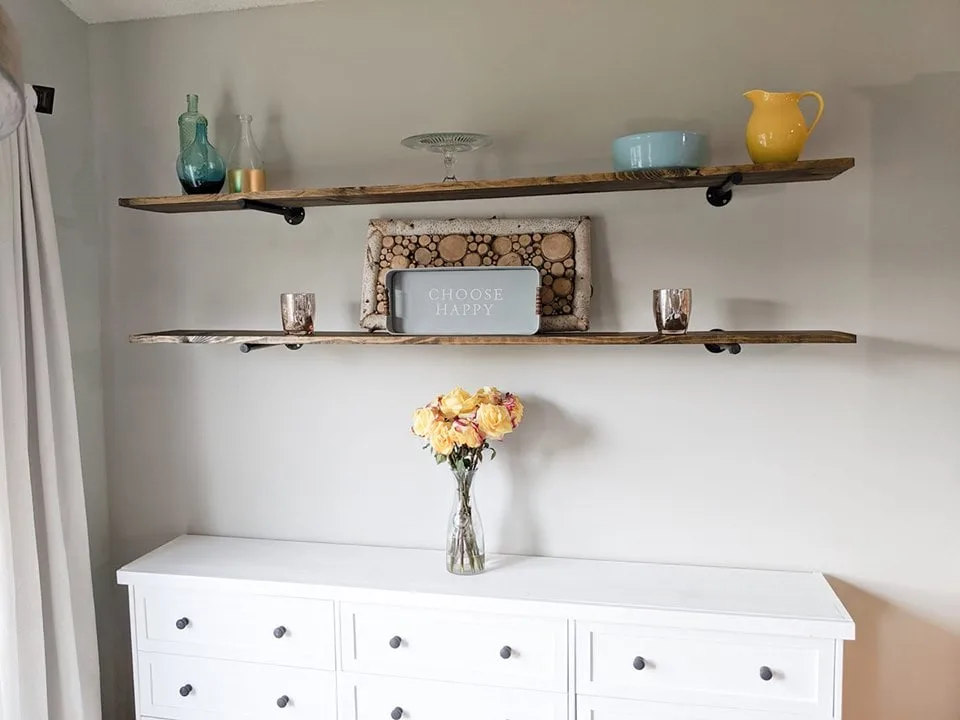
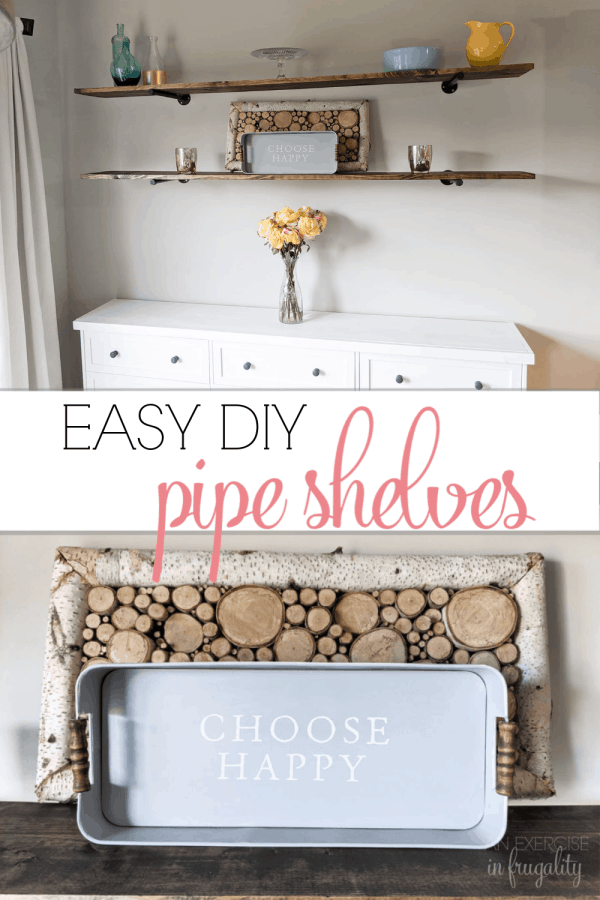
DIY Pipe shelves are a simple, cute way to add storage and decor to any room!
I had been trying to decide what kind of shelves to add above the credenza we built in the dining area of our kitchen. MONTHS of indecision. I kept going back and forth and couldn’t decide if I wanted to tackle floating shelves or not.
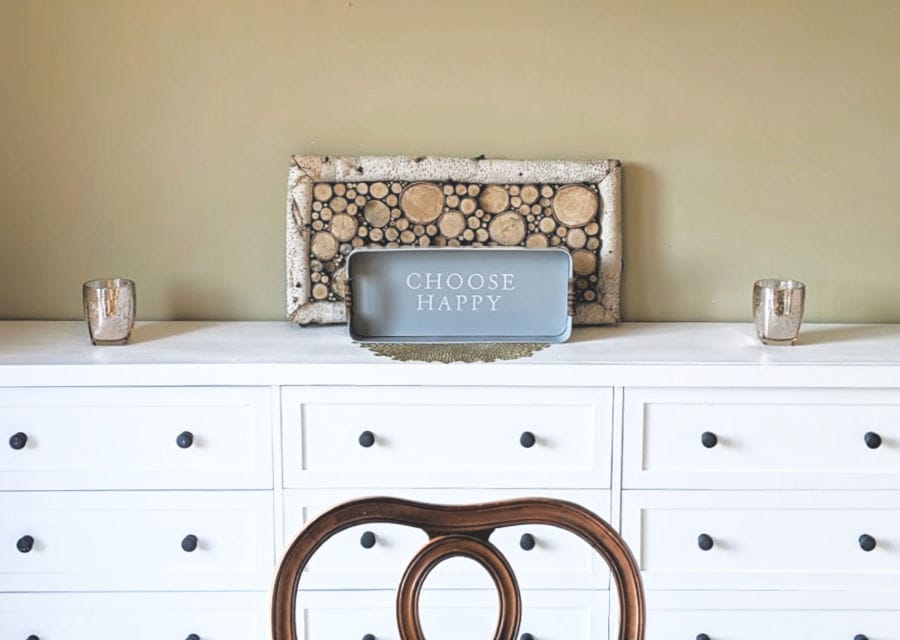
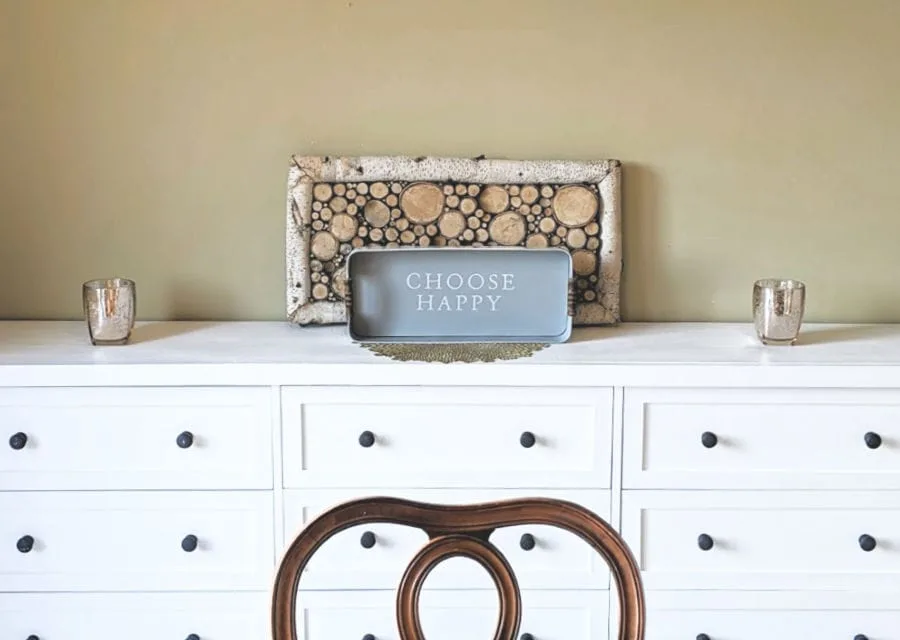
Speaking of that cabinet, it’s an Ikea hack (specifically, an Ikea Rast Hack!)! You can read about how we built this DIY rustic sideboard cabinet in this post!
Floating shelves are not hard to do, but I was feeling lazy. I even built DIY floating shelves in my office at our old house. But for some reason I just wasn’t feeling it.
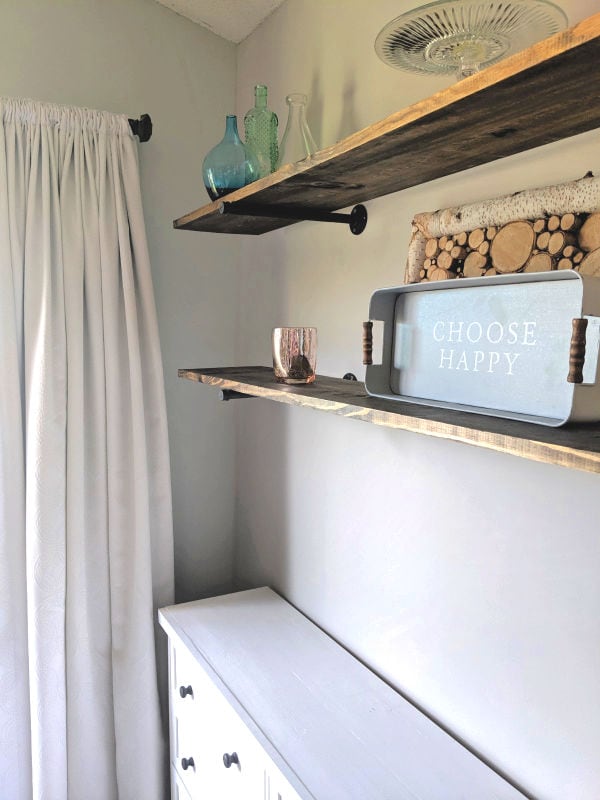
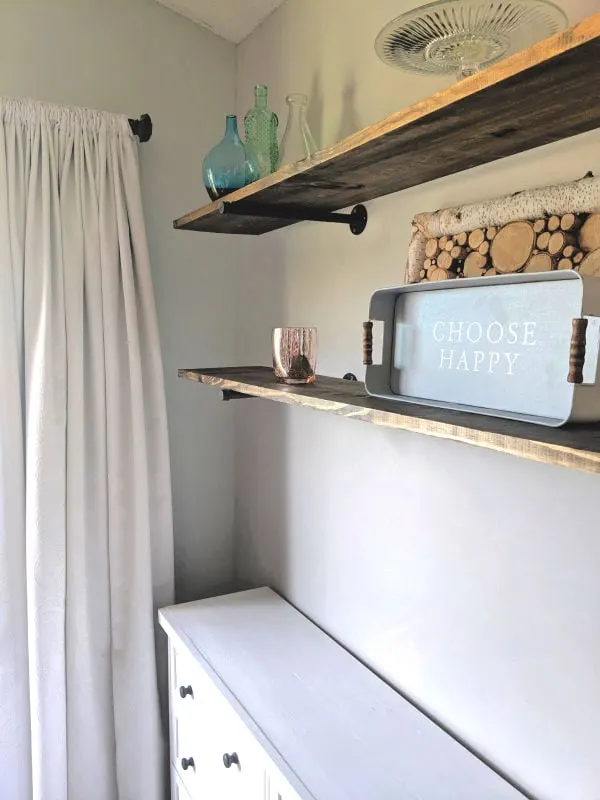
Then I started looking at some modern industrial “pipe shelves” and knew that would be the perfect fit here!
Our kitchen is a light gray, and eventually the cabinets are getting painted white and the rug under the table is a light color, so I wanted something to warm up the space a little bit and thought that the ruggedness of these shelves would be a nice contrast.
Also, truth be told I was trying to surprise my husband, since I know this is a project he wanted to get done for practical (read: storage) purposes, so I don’t think he appreciated my aesthetic conundrum.
So while he was out of town for work, I headed to Home Depot and decided to finish this project once and for all! You do not need boys for your DIY projects ladies!
Speaking of DIY ladies, I met a ton of boss babes at Haven in Atlanta recently and they definitely inspired me to get back in the DIY saddle, so you’ll be seeing a LOT more projects around here. Buckle up!
Can I make my own DIY pipe shelves?
ABSOLUTELY! These DIY pipe shelves are SO simple. If you’re lucky and need shelves in a standard length, you won’t even need to use a saw!
How deep should your shelves be?
Honestly a lot of this boils down to two things: personal preference and what you’re storing on these shelves.
Personally, I feel like 10-12 inches is generally a good baseline, but if it’s purely decorative/for picture frames, you can go narrower. If you need to store larger items you can go wider!
Can I hang a shelf with nails?
Only if you enjoy watching things come crashing down. Screws are going to be best and ALWAYS make sure you’re screwing shelf brackets into studs. Drywall is not strong enough to hold up a large shelf!
What’s the best wood to use for shelving?
Ideally you want something 1-2 inches thick. Something that will be sturdy, but also not adding a ton of additional weight. Pine is a nice, inexpensive choice especially if you will be painting or staining your shelves. For shelves where aesthetics are not important (like in the basement or garage) you can even use thicker sheets of plywood.
Is MDF good for DIY shelving?
In short, not really. MDF is inexpensive, however it gets ruined easily with any hint of moisture (so if your shelves are in a kitchen or bathroom or anywhere that they could get damp) avoid MDF at all costs. It is also softer than regular wood, so heavy items can cause them to sag over time.
If you choose to go the MDF route, you may want to add an extra support bracket to avoid any sagging under heavy items.
What can you put on a bookshelf?
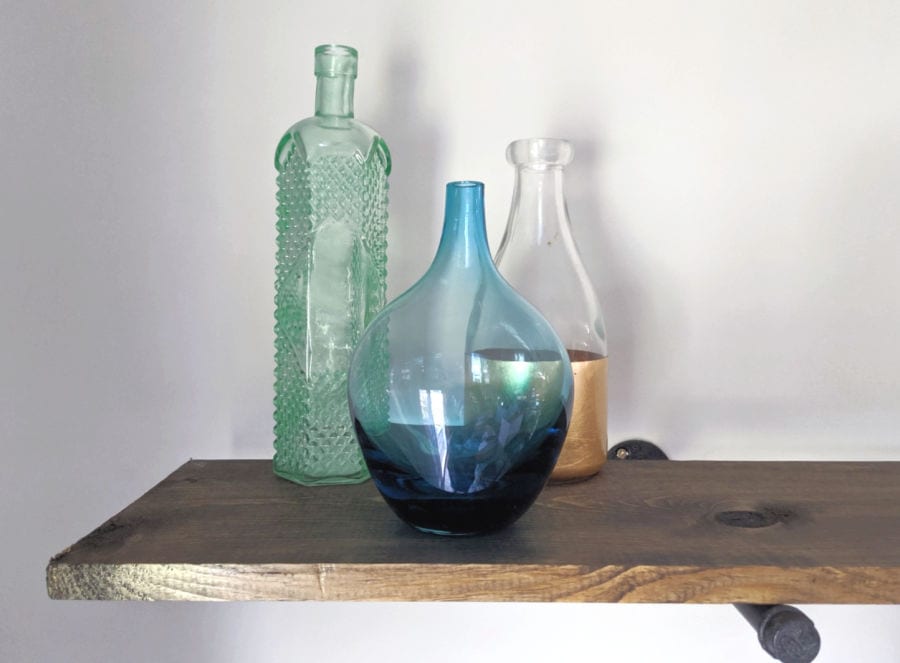
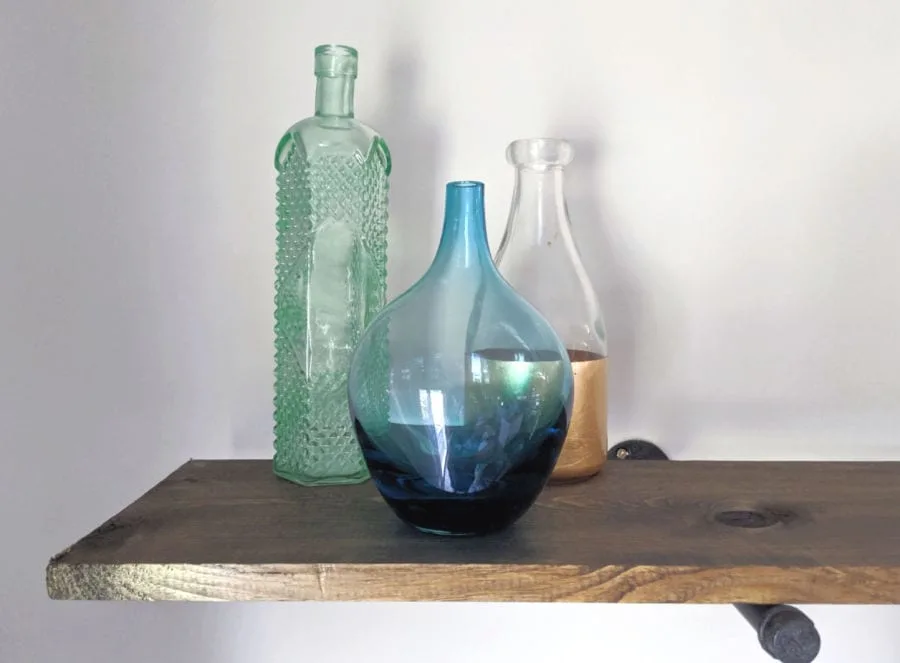
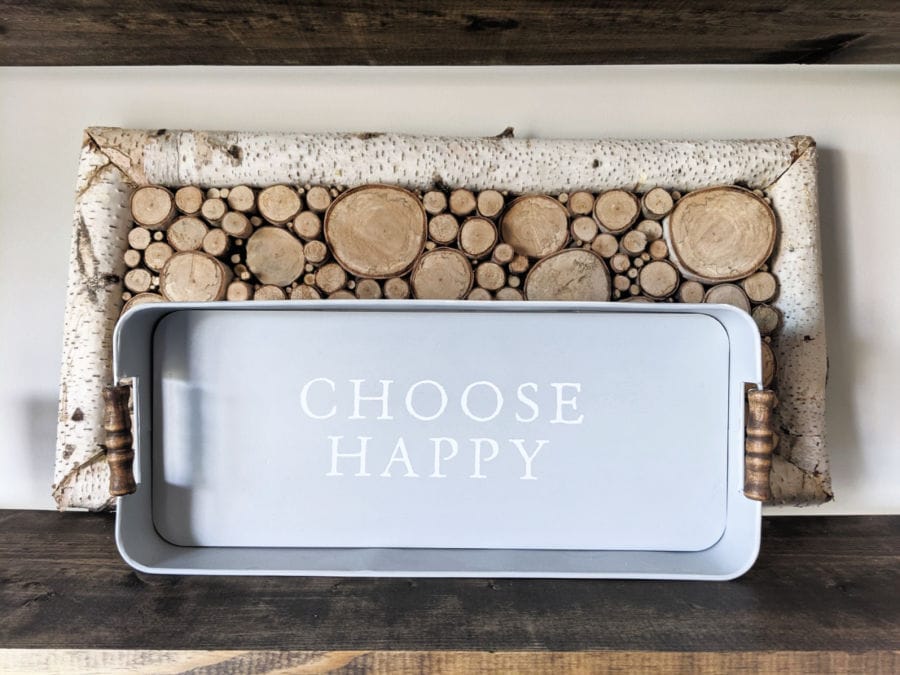
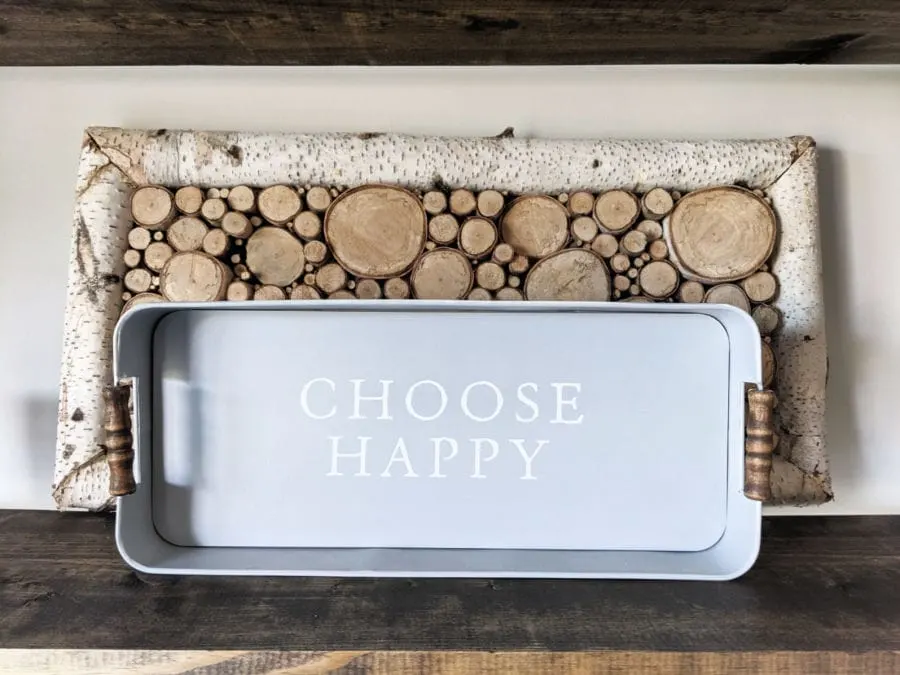
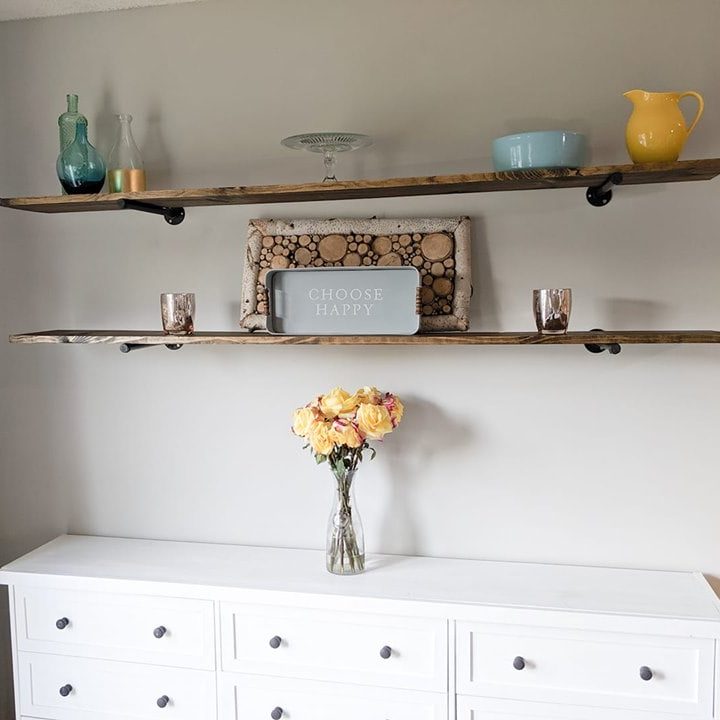
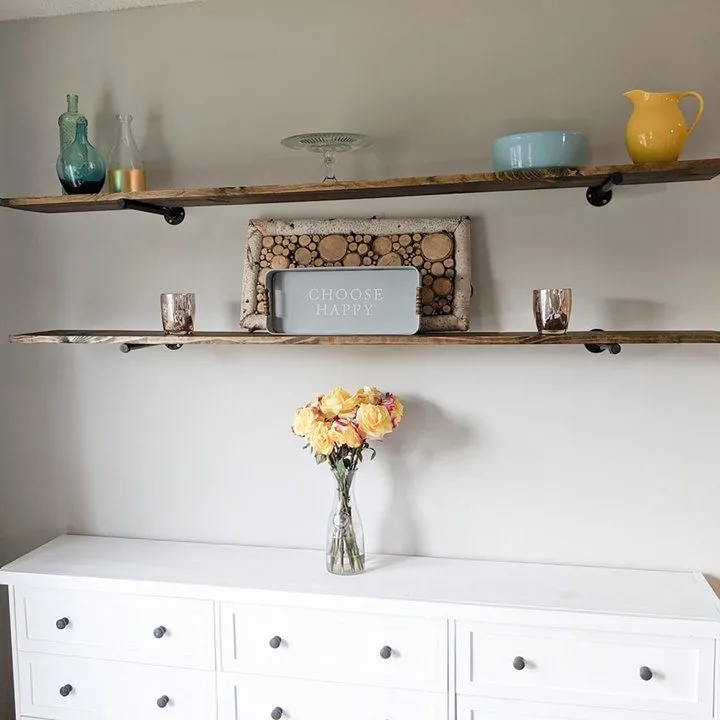
Anything you want! I would avoid SUPER heavy things, but you can see in these photos we added some fun decor pieces. Since this is a kitchen I will eventually have cookbooks here too, but for a bookshelf you can add decorative pieces like small statues/figurines, recycled scented candles picture frames, flower vases (like these paint dipped bud vases!), these Kate Spade inspired storage boxes or whatever brings you joy!
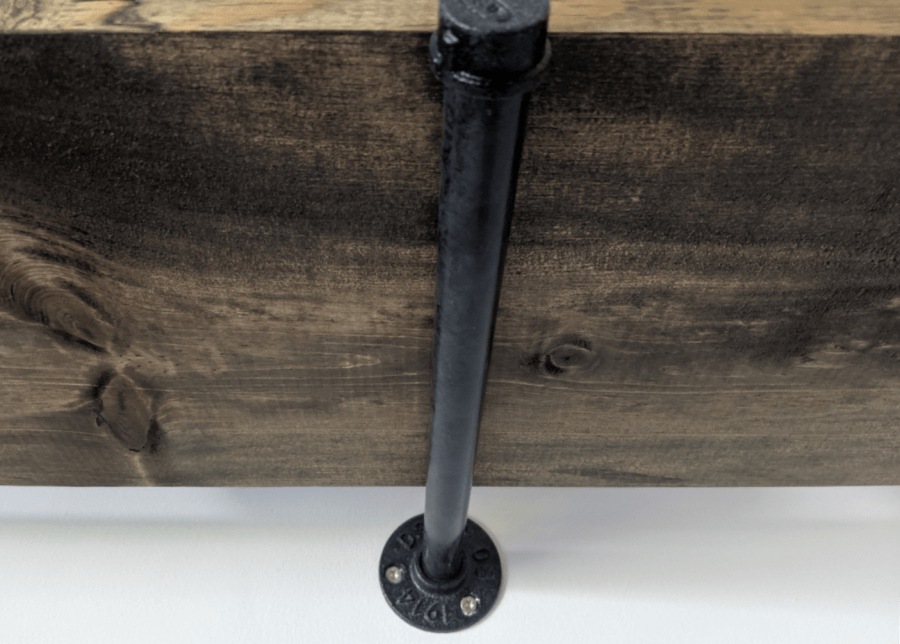
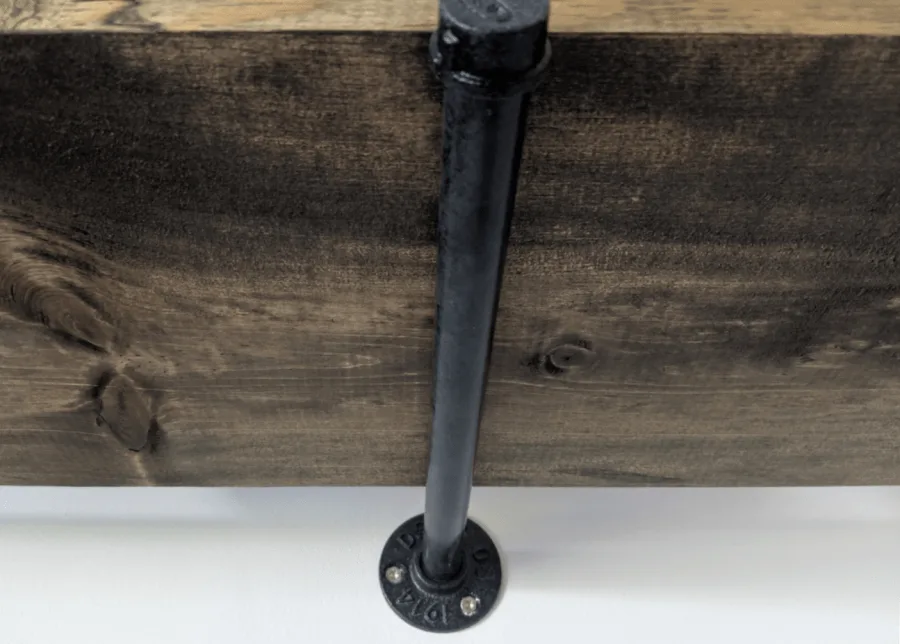
Now, you can probably do these shelves with actual pipe, however I did not feel like messing with cutting metal pipe so I hit up my local Hobby Lobby and found THESE bad boys.
The best part is that they were on sale 50% off! HOLLA!
I just love how the DIY pipe shelves turned out, don’t you? Easy and inexpensive to boot!
If you make your own, be sure to tag me on social media, I’d love to see your creations!
How to build DIY pipe shelves
How to Make DIY Pipe Shelves
These DIY pipe shelves are super easy and inexpensive to make but will turn any room into a beautiful, rustic chic oasis with extra storage to boot!
Materials
- 1 - 1 x 10 x 6 pine board
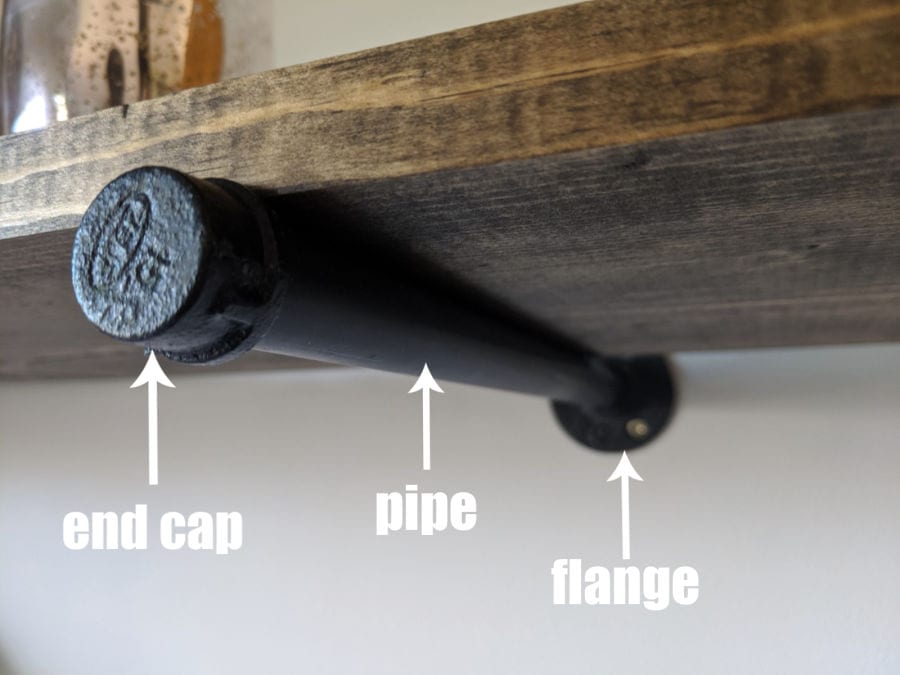
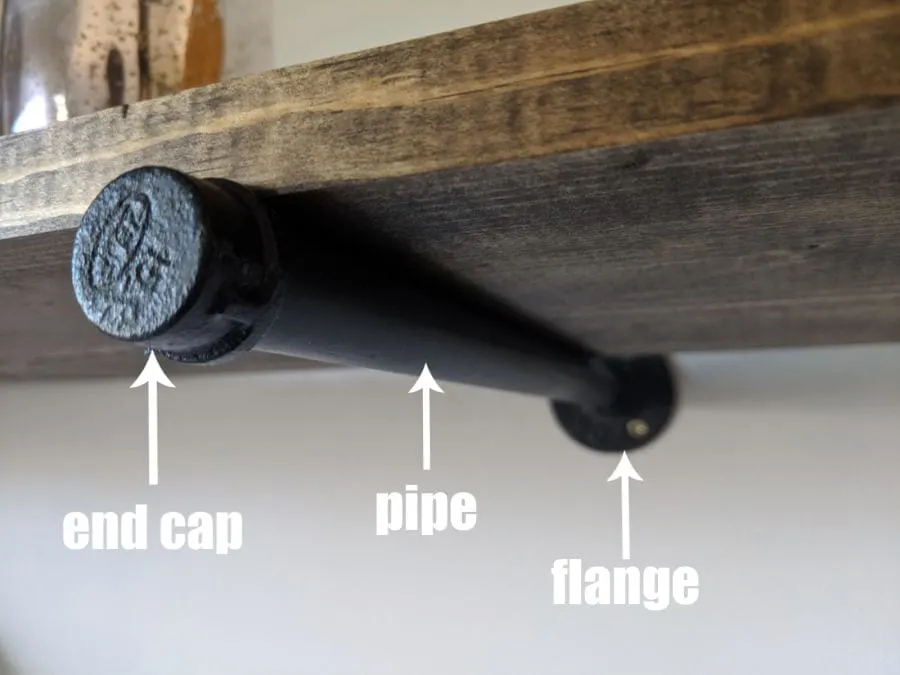
- 2 - pipe flanges
- 2 - steel pipes
- 2 - pipe caps
- 6- 2" screws
- wood stain
Tools
- drill
- level
- tape measure
- stud finder
- pencil
Instructions
- Paint or stain boards with 2 coats, drying between coats per manufacturer's instructions.
- Use tape measure to determine height of lowest board (I did my lower board 24" above the top of the cabinet)
- Use a stud finder to locate and mark studs
- Affix pipe flange using wood screws by drilling screws into studs.
- Screw pipe end into flange, and screw pipe cap onto pipe.
- Hold the second pipe flange to the stud, using your other hand (or a helper), place the shelf on the existing pipe.
- Using the level, determine the location of the second flange on the stud.
- Mark flange location with pencil.
- Remove shelf, then screw the second pipe flange into the second stud.
- Repeat step 5 for second flange
- Balance the board on the two pipe brackets and decorate!
Notes
Instructions and materials above are for ONE shelf. Multiply above supples as needed per shelf.
You may need a third (or more) pipe bracket depending on the length of your shelf and the weight of what's being placed on it. I used only two per shelf for a 6 foot shelf but if you're going longer than that or want to store heavy things, placing another bracket in the middle is recommended.
"Additional time" above is drying time for the stain and will vary depending on the products used.
Recommended Products
As an Amazon Associate and member of other affiliate programs, I earn from qualifying purchases.
-
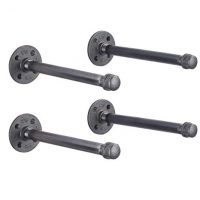
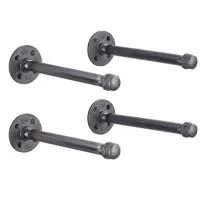 Rustic Pipe Decor Industrial Shelf Brackets – Set of Four, Industrial Steel Grey Fittings, Flanges, Pipes for Custom Floating Shelves, Vintage Furniture Decorations, Wall Mounted DIY Bracket, 12 Inch
 -
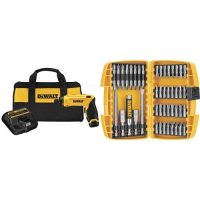
 DEWALT DCF680N1 8V Gyroscopic Screwdriver 1-Battery Kit with DEWALT DW2166 45 Piece Screwdriving Set with Tough Case
 -
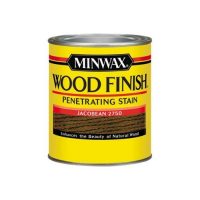
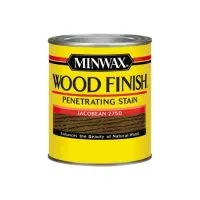 Minwax 70014444 Wood Finish Penetrating Stain, quart, Jacobean

ManMan1872
Thursday 23rd of July 2020
Great stuff. I think you need one or two “boys” though to any of these things. There were at least 100 “boys” (and probably zero girls) Required to mine, manufacture, design, engineer, deliver, all those materials and tools— i think a boy or two was necessary (and sufficient) for you to relay these instructions to your audience. Sorry — it’s a common sentiment your expressing about your lack of dependence on men to do everything. Maybe Cut That out. It’s getting annoying (mostly cause it’s just stupid and false and everyone knows it). Peace.
ManMansMom
Thursday 23rd of July 2020
@ManMan1872,
That awkward moment when you realize a woman made you....
Minersrppl2
Thursday 23rd of July 2020
@ManMan1872, this is a great point. especially about the miners. considering the materials that went into this shelf, i would guess there are at least 2 miners (boys) that would be really upset to see this blatant lack of respect. think before you post next time.
DudeDude1873
Thursday 23rd of July 2020
@ManMan1872, How many materials have you mined there champ? I imagine the only thing you mine are downvotes on reddit at 2AM.
Rose Siders
Thursday 23rd of July 2020
@ManMan1872,
I am very sorry to have so severely hurt your clearly very delicate masculinity. Please accept my *sincerest* condolences that my words hurt your feefees so badly that you felt compelled to leave this absolutely absurd comment.
I understand after your long day chopping wood and in the iron ore mines, a post like this must be so very insensitive to all the hard, manly work you do.
You see, my computer is so far away from my kitchen where I usually fix my husband's sandwiches and the light is so bright here, I just honestly lost my way.
Please forgive my silly woman brain. Next time I will be sure to have male supervision before I write things on the internet.