

Something strange has happened to me over the last few years. This DIY fall burlap wreath is just the tip of the iceberg.
I’ve started to LOVE fall.
Even though my allergies go all wack-a-doo every year. When I was younger, I longed for summer. Hot days, muggy nights, trips to the pool. I would loathe the time of year when school started. But now that I’m an adult, I find that I love the crispness in the air, the leaves changing color, the warm drinks in steamy mugs.
Also, I kind of have a thing for burlap. And burlap always seems to be associated with fall. Even our wedding had burlap! I made a monogrammed burlap aisle runner (which later became a piece of art in our home!)
So anything fall and burlap, I’m pretty much going to love. Such is the case with this fall burlap wreath! It’s so inexpensive to make, and really simple to do. You don’t even have to be super crafty either.
DIY Fall Burlap Wreath Tutorial:
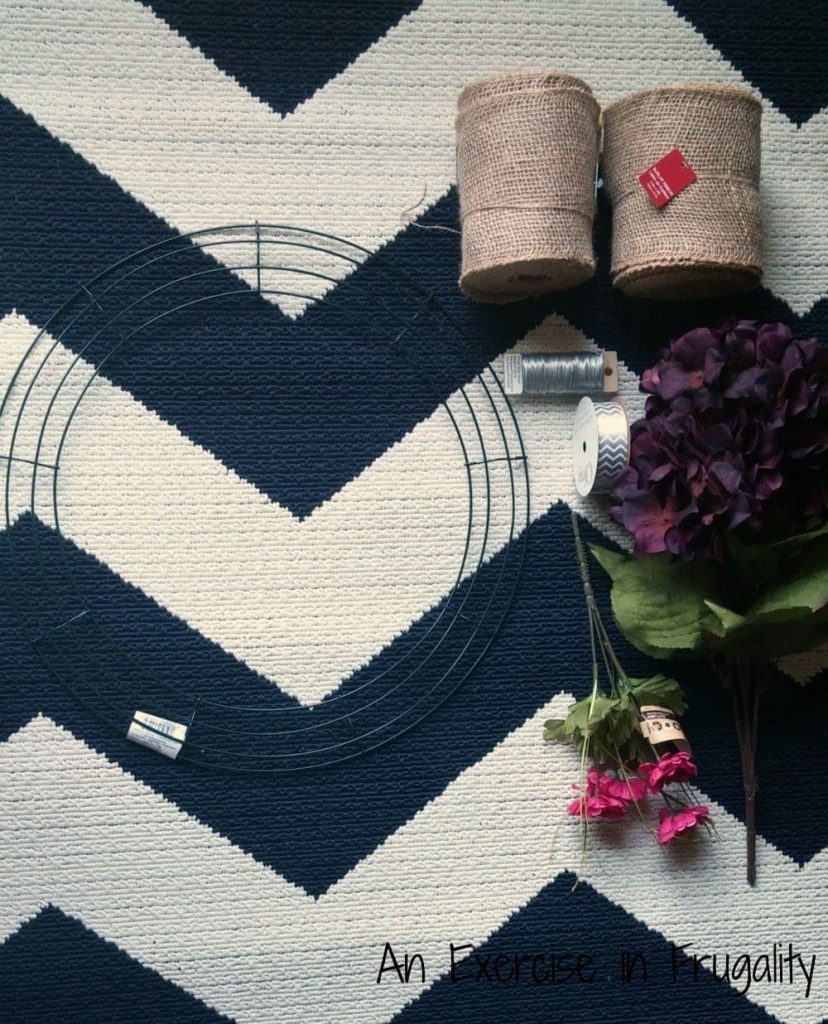
- burlap “ribbon” (or you can cut strips of burlap, I found this was easier. These were at Walmart for $3.99/roll)
- wire wreath form (I used 18″)
- floral wire
- faux flowers or decor of your choosing (I went with fall colored flowers to keep it versatile for any occasion)
- ribbon for decor and/or hanging
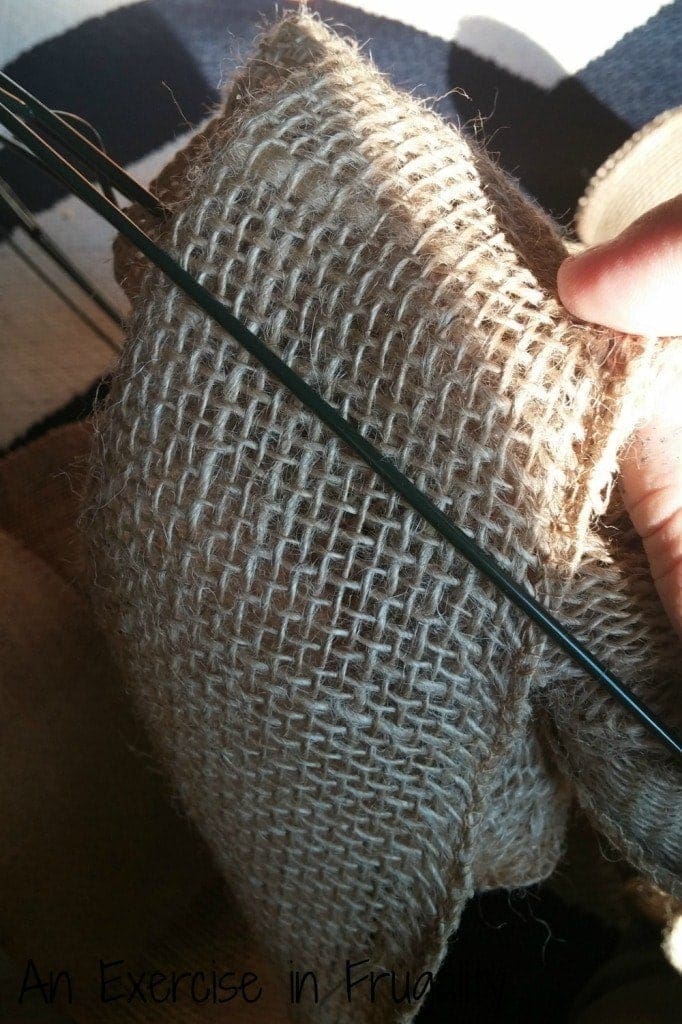
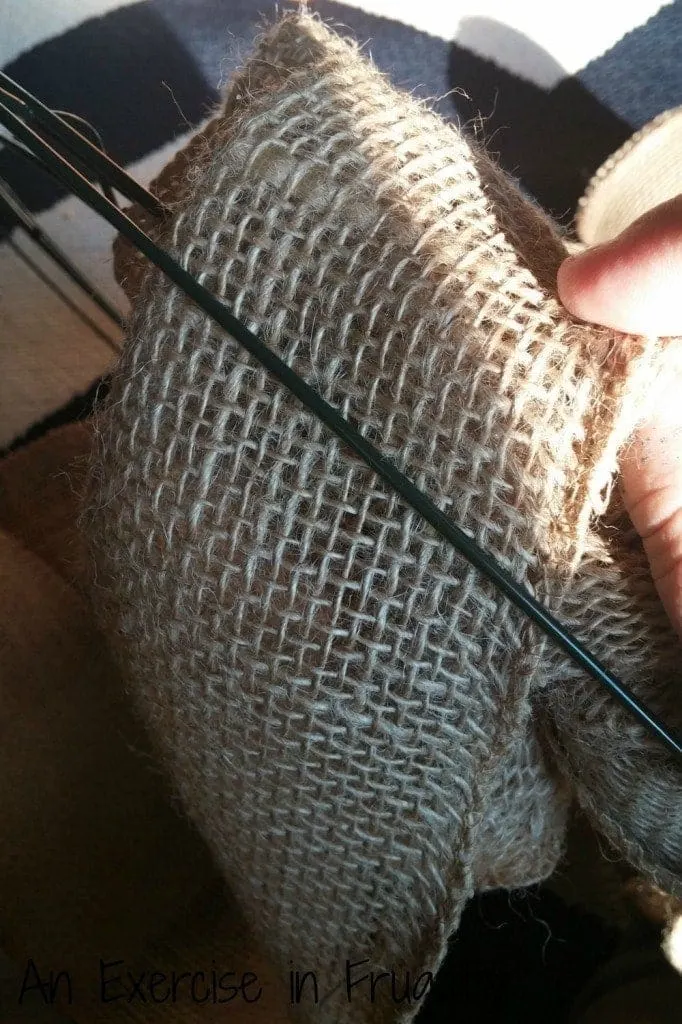
This fall burlap wreath is very simple to make. Simply hook a small piece of floral wire through the burlap and attach it to the wire wreath frame on the inner-most ring. Wrap it around, using the wire to “sew” the burlap securely to the frame, then twist the wire and tuck it in so no sharp ends are exposed.
Starting with the space between the next two wires in your frame, fold the burlap over onto itself, and tuck it between the wires, pulling about 2-3 inches through, depending on how “fluffy” you want your wreath to be. Hold that part so it doesn’t pull through, then do the same between the next two wires. When you reach the outermost wire, twist the burlap twice, then tuck it behind the wires and start again with the innermost wires, working your way around the wreath.
Please excuse the paint on and under my fingernails. This wreath was made the day after I painted my countertops, and as you can see I made the mistake of not wearing gloves. Whoops.
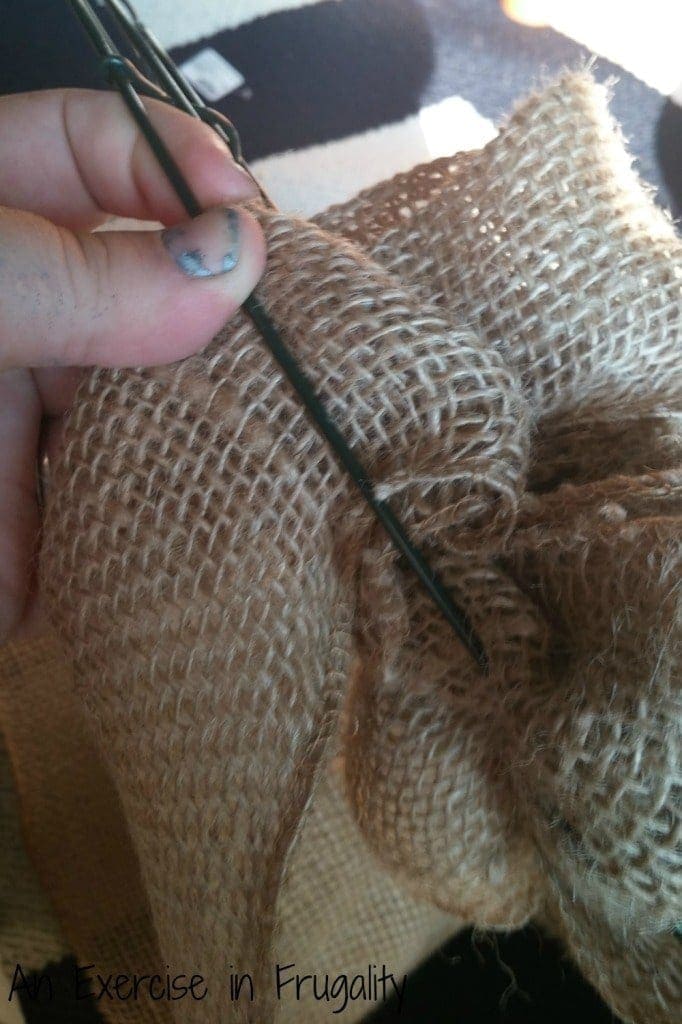

Its hard to get pictures to accurately show what is being done here, but once you get the basic momentum down its really simple. The good news is it doesn’t have to be perfect either. I found it best to hold the sections I was done with taut, to maximize the amount of burlap “loops” that could be fit into the wreath, so that it was nice and fluffy once completed, with no gaps.
Once you’re done, you will want to tie the end of the burlap down with another small piece of floral wire, and tuck it in so its hidden. You can also use your decorations to cover it if necessary. Go around the wreath and “fluff” and “poof” the burlap loops. Yes, those are technical terms, why do you ask? 🙂
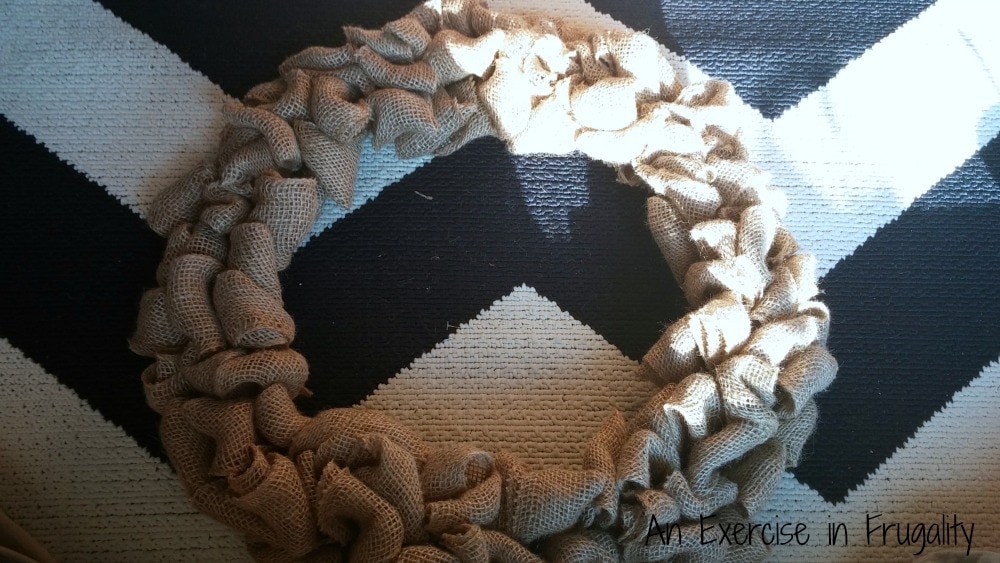
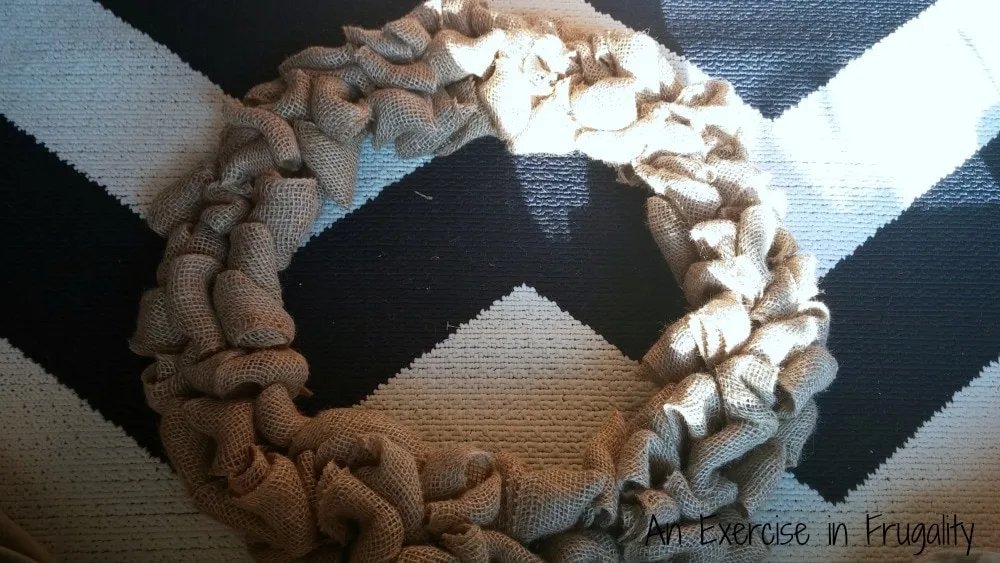
Here’s the wreath before any further decorating happened, but if you ask me, this isn’t a wreath yet, its just a ring of burlap! You’re gonna want to jazz that puppy up a bit! If you really want to get creative, you could try looping ribbon or lace in with your burlap. I didn’t think of that until just now…maybe I will have to try making another one. Hmmm…
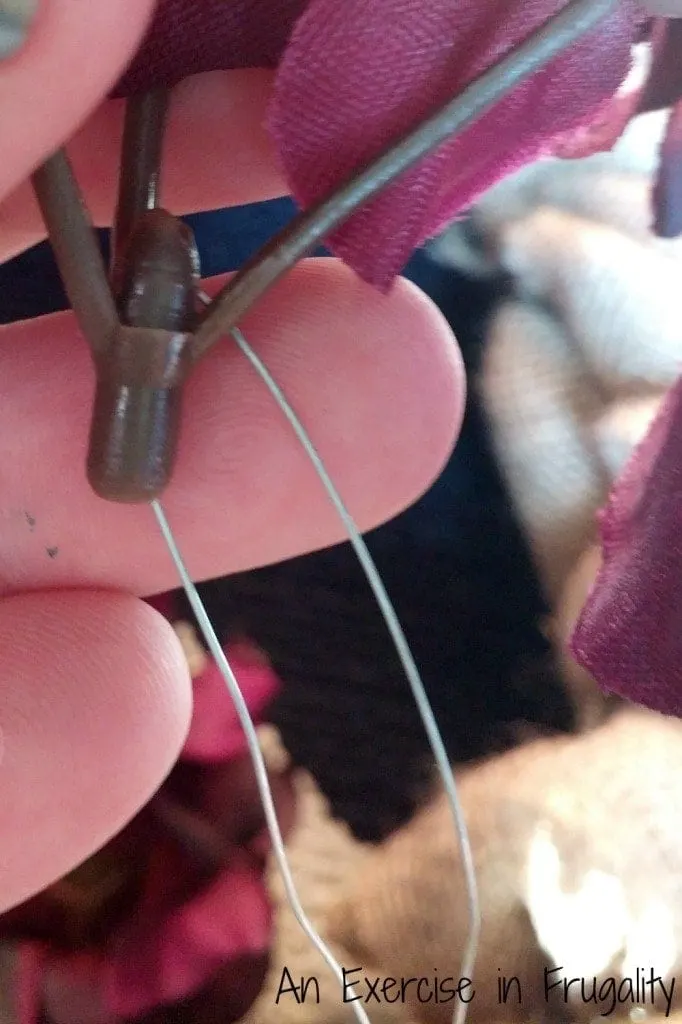
To attach your decorations (flowers, twigs, leaves, miniature pumpkins, etc) you can use the floral wire like I did here, looping it around your flower stems and “tying” it into the burlap and wire frame, or you can use a hot glue gun as well. Whatever works best for your decorations.

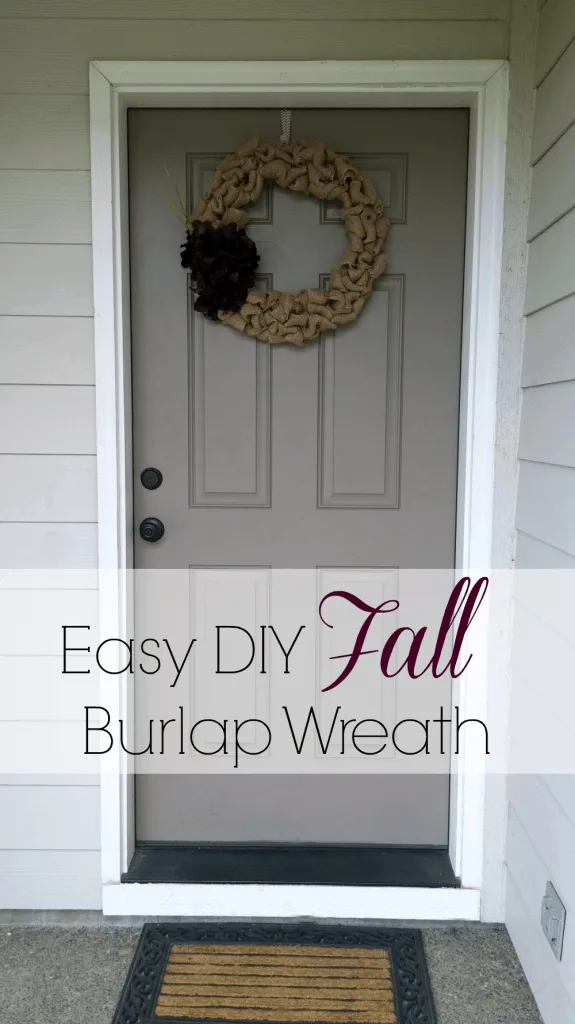
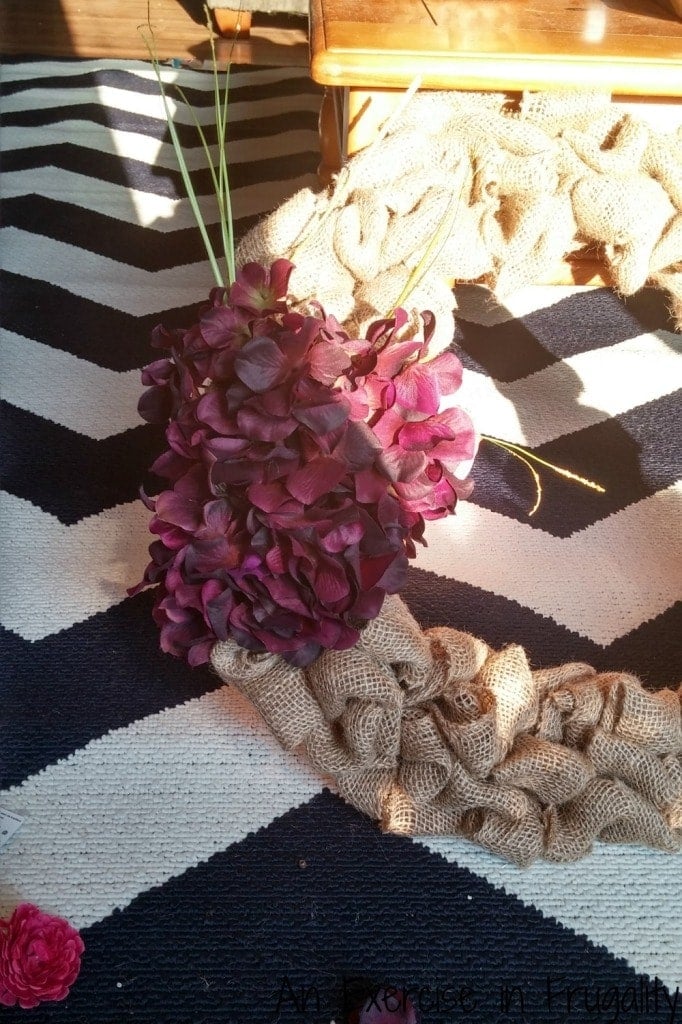
Here’s the finished fall burlap wreath! I was going to go back and add the small pink flowers too, but I got lazy. Maybe eventually I will add them, but for right now I am loving the plum colored hydrangeas and the grassy things (sorry, I’m not a botany enthusiast…I don’t know what their real name is!) Please excuse the ugly coffee table, that is a project for another day. But I do love my living room rug. Can you believe that it was like $50 at Target on clearance? Yup. It was an indoor/outdoor rug and I was obsessed with it until it went on clearance for like 60% off. Patience paid off! Whoop!

So anyway, that’s it. The whole project cost me less than $20, and if you happen to have a stash of craft goodies like the flower embellishments or burlap already laying around, it will cost you even less. I didn’t even use all of my burlap ribbon either, so I have enough for another small project too. I’ve seen a fall burlap wreath pre-made in stores for anywhere from $40-$70, so making one (or more) for yourself is gonna save you big. You could do a Halloween one and a Thanksgiving one, but I preferred just a general fall colored one for now. I think it looks pretty awesome hanging on our front door!
What did you think of the DIY Fall Burlap Wreath Tutorial?
[share]
[disclosure]