

[ad]
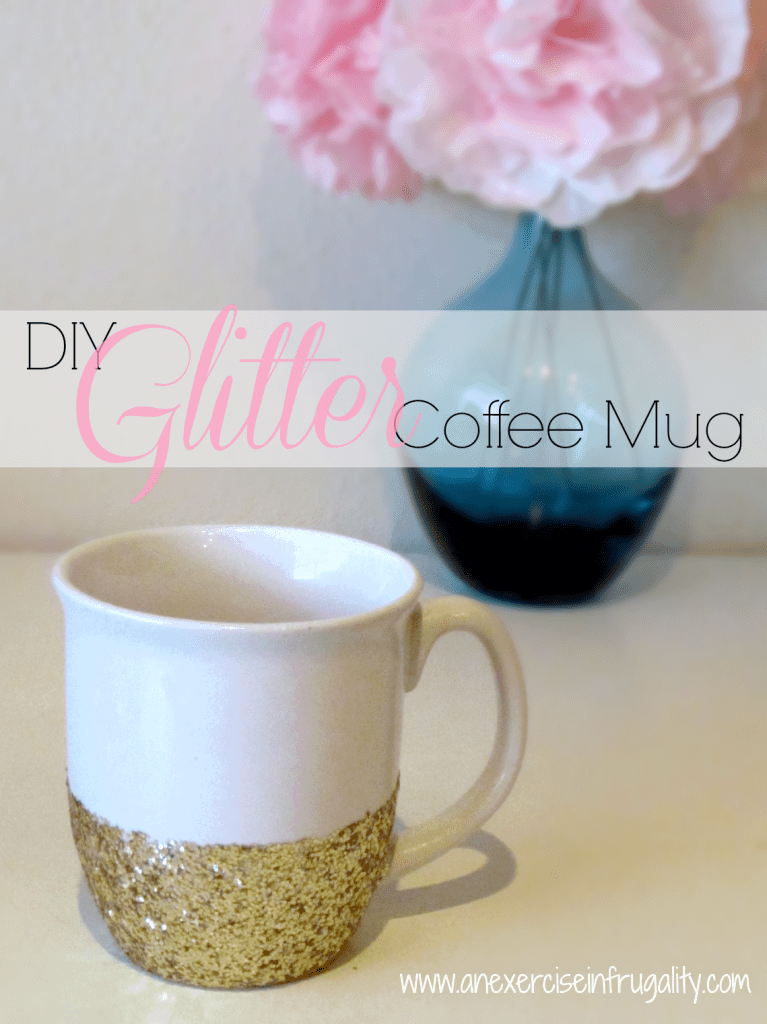
A couple days ago I stumbled upon this super cute glitter mug tutorial on Pinterest. I knew I had to have one of my own, so I headed out to the local DollarTree to see about getting a mug (I have a set of white mugs similar to the one used, but I didn’t want to use one from my matching set). I like to call it my Optimist’s Mug. Why? Keep reading to find out!
But when I got to the DollarTree, I couldn’t decide….
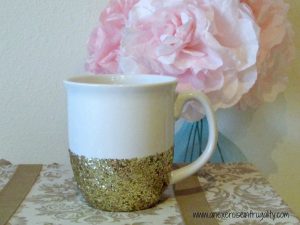
Should I do a regular mug?

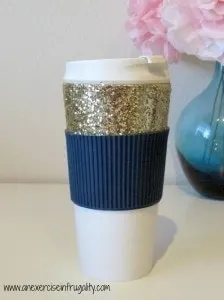
Or a travel mug?

Then I realized I was stressing for nothing, because they’re a buck. And even for cheapos like myself, I could totally spring the extra dollar to get a second one.
Let’s live on the wild side folks.
[mid]
So I grabbed some gold glitter at Joann Fabrics. I couldn’t find the Martha Stewart Crafts – Decoupage Glue and Sealer suggested by the White House, Black Shutters tutorial, so I used some Americana Triple Thick Glaze I had on-hand. I don’t think its dishwasher safe, so I plan on ordering the Decoupage stuff and going over it again.

Basically all you do, is mask of where you want your glitter to stop, and then paint the decoupage “glue” onto the mug where you want the glitter to go. You then shake the glitter on, or roll the mug in the glitter to coat it. Let it dry overnight, then coat in the decoupage glue and let dry overnight. Then do a second top coat of decoupage and again let dry overnight. You should wait a week before using it so the decoupage “cures” and then wait 28 days before using the dishwasher, according to the package directions. The decoupage keeps the glitter from flaking off everywhere (because glitter is like craft herpes….once it’s there, it never goes away). I recommend only doing the bottom of the mug, but you should at minimum leave room for your mouth. You can use any color glitter you want. I might have to make my mother a pink glitter mug for Mother’s Day, since she has a pink blingy mouse and matching pen at work.
If you can’t tell whether I like glittery stuff, just hover your mouse over any of the photos on my website. See my Pinterest hover button? Glitter!
DO NOT MICROWAVE THIS MUG. Glitter can be made from flakes of metal, and even if its not, its metallic, and I wouldn’t risk it in a microwave. If you want to give it a try, go ahead, but don’t say I didn’t warn you (you little daredevil you!).
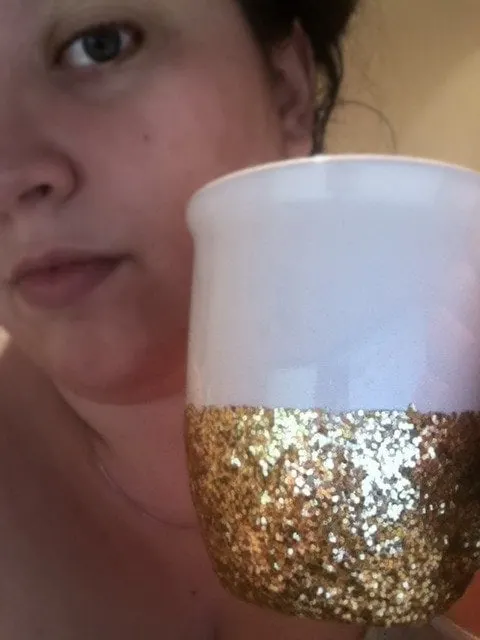
I’ve taken to calling this mug my “Optimist mug”. Why? Two reasons.
One: We always tease my husband that he’s a pessimist. He actually owns a “Pessimist mug”

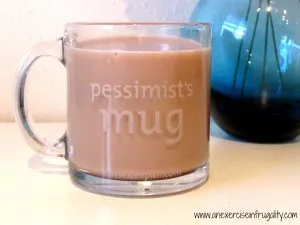
It’s the only mug that is ALWAYS half empty.
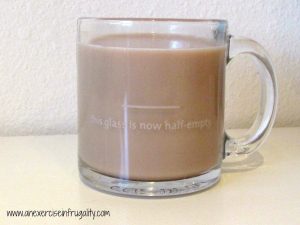
Two: I decided that I need to learn to be more positive. And what better way to be positive than starting your day with a blingy coffee mug? So now, when I look at this jazzy mug, it’s easy to see that my glass is always half-full…of sparkly awesomeness.
So if you have a strong need for shiny objects like myself, I suggest making one of these Glitter Mugs.
They’re so easy to make, they’ll make you look fancier than a Collie wearing a top hat!

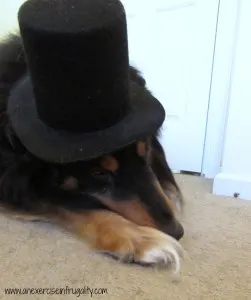
Awww, it’s ok, Bear. No one is fancier than you.


See? He’s happy now. But he would be happier if you would like, share and pin this post. Just saying. You’ve seen his sad face…you don’t want to disappoint him. This glitter mug tutorial is too cute and easy to pass up!