

When I got my first “grown up” job, one of the first things I realized was how BORING cubicle world is. I’m not talking about the mind-numbing hours of shuffling papers either, I’m simply referring to the fact that life in a beige box is so drab. One of the first things I did was start jazzing up my space. I ditched my black tape dispenser for an aqua one. While I was on the phone, I would mindlessly snip out photos of flowers and pin them to my cubicle walls. ANYTHING to cover up the blah fabric.
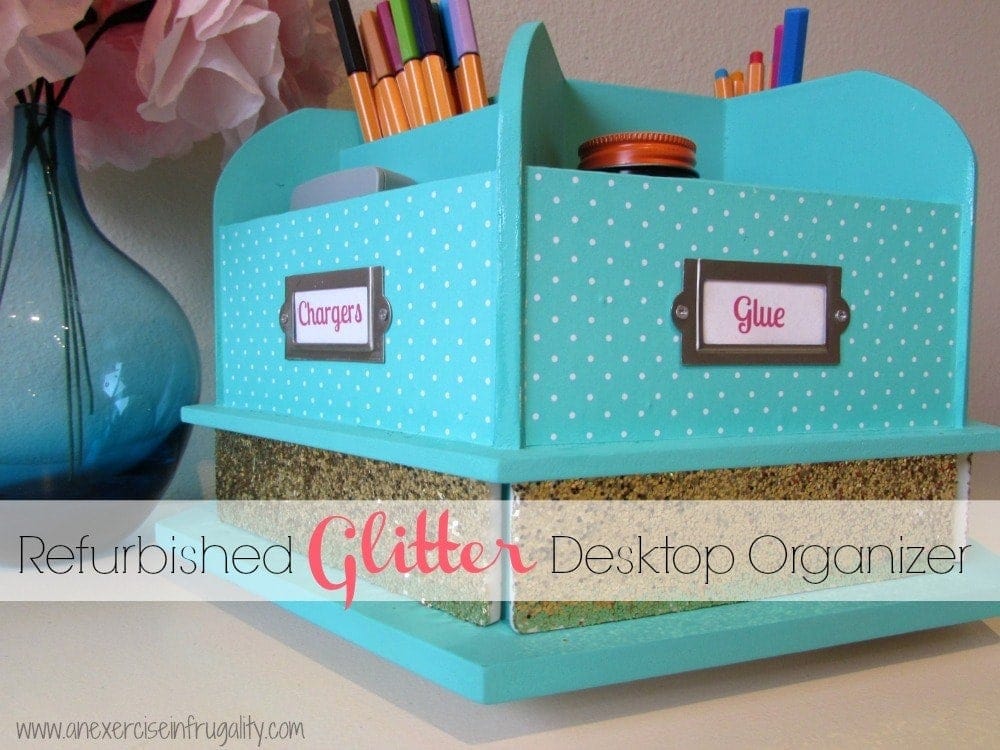
Now that I have my own office at home, it’s a work-in-progress. I’m trying to feather my nest without spending a fortune. So I’ve been trying to find ways to breathe new life into old items. I decided to make a beautiful glitter desktop organizer.

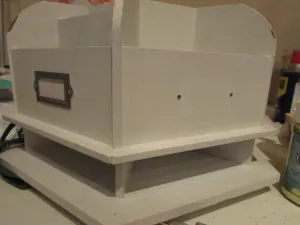
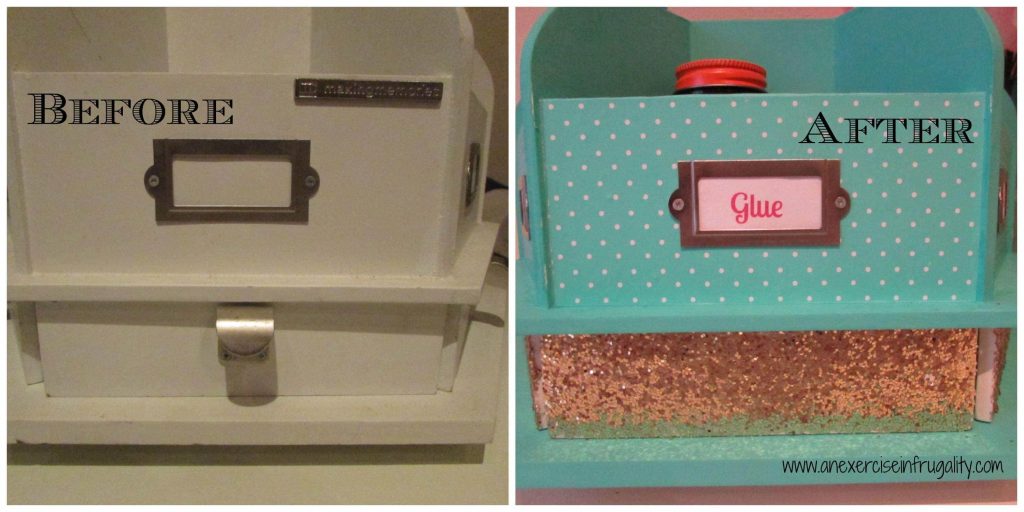
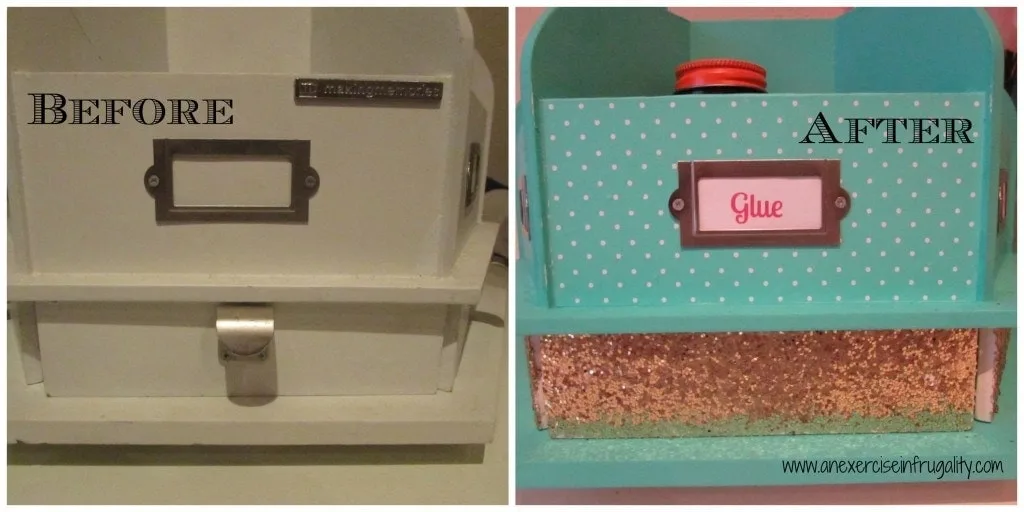
I have this Making Memories Desktop Carousel I got a while back at Michael’s with a 40% off coupon. I’ve had it for years (not sure if they even still sell this style or not, but I think they have something similar). Over time, it’s gotten scuffed, bumped, scratched, scribbled on and dripped in. It was looking a little rough. So into a box it went where it sat.
And sat.
And sat….until we moved to Oregon. I drove it (along with all our other possessions) 1200 miles across country. Where it sat in a box at the bottom of my hall closet. I couldn’t bear to part with it, but I also couldn’t bear to look at it. It was not a pretty sight.


Until the other day when I stumbled upon it and finally it hit me. This was a perfectly good organizer (I LOVED the functionality of it) it just looked crummy. Well I can fix that! Time for a facelift, so it was reborn as a glitter desk organizer.
Here’s all the supplies you’ll need to do a DIY Glitter Desktop Organizer:
- Glitter
- Craft Paint
- Coordinating scrapbook paper (you can do more than one color/pattern as long as it all matches!)
- Mod Podge
- Spray sealant
- Tiny screwdriver (to remove the metal faceplates)
- Masking tape (optional-if you choose to not remove the faceplates you can cover them)
- Paintbrushes
- Desktop Organizer (duh)
So I picked up my box of craft paint and chose a color that I already had: Apple Barrel acrylic craft paint in Aquamarine. It’s old, and a little thin-this took 3-4 coats but I didn’t want to spend any money on this project, so I went with what I had.
Then I grabbed some of the gold glitter that I had leftover from my Glitter Coffee Mug tutorial and some of the Scrapbook paper squares I got from the dollar section at Target.
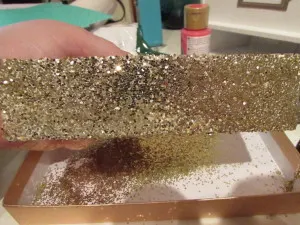
I chose to glitter the faces of the drawers on the bottom. I don’t use them much, so I removed the handles. This was for two reasons: first they didn’t really match the glitter, and second, I covered the holes with glue and glitter and didn’t realize it til it was hardened. Whoops.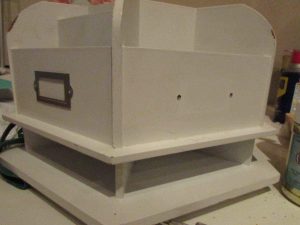
To do this, spread a thin, even layer of Mod Podge or glue on the front of the drawer, taking care to avoid drips on the edges which may inhibit the drawer from closing properly. Next, sprinkle the glitter on the face of the drawer, or alternately, you can put the glitter on a tray or box top, and gently “stamp” or dip the glued drawer into the glitter. Repeat this step with each drawer and set them aside to dry.

Next, paint the whole thing. You might need 2, 3 or 4 coats depending on the quality of paint you’re using.
Then I cut pieces of scrapbook paper to fit the front pieces. You can skip this step and just leave solid color paint if you prefer, but I thought it was a fun addition!
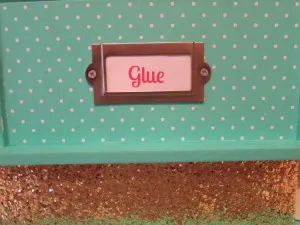
When that’s dry you can reattach the nameplates. I printed out labels using PicMonkey (the font is called Lobster Two) but you can use whatever you want: handwritten, label maker, stickers, etc.
Once the drawers are dry, do another coat of the Mod Podge. Then once that’s dry, spray the whole thing with sealer. You can use a gloss or matte finish (you’ll find them in the spray paint section of your local craft or hardware store.
That’s it! You’re done. Now sit back and admire your work! And fill this beautiful glitter desktop organizer with stuff!
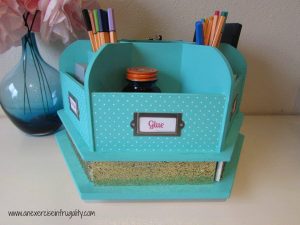

What do you think of my Glitter Desktop Organizer?
[share]
[disclosure]