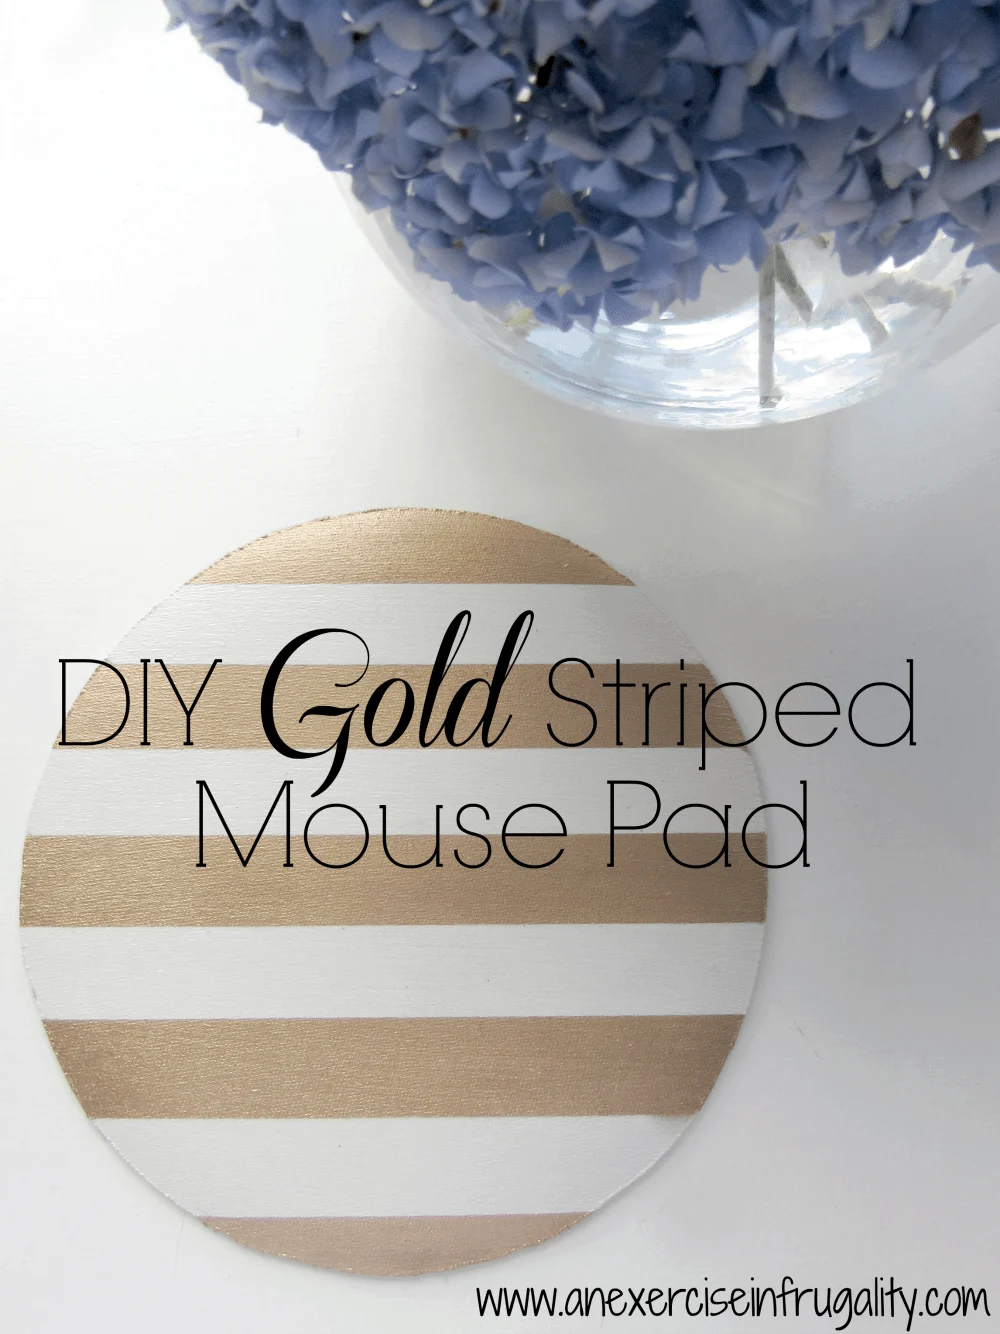
I’ve already started collecting ideas for redecorating my office. We’re moving in a few weeks (our closing date got pushed back. ARGH!) and so I decided now was a good time to get my accessories in order, because my office needs a little jazzing up. I decided I wanted to have all-gold office accessories. Because I can. Why not? How many years of my life did I waste in a boring beige cubicle? Now that I’m my own boss, I decided my office needs a little bling!
My plan is to spray paint all my accessories gold, and I’ll have another post on that once I get to that point, but I started off with something I wasn’t sure would work, and it totally did! I took one of those cheap, ugly, $4 bright blue mouse pads and transformed it into something awesome that totally fits my decor.
It was actually much easier than I thought. I’ll show you all the steps, plus, I’ll show you how to get perfectly even stripes without ANY measuring. SO easy!
Gold Mouse Pad:
white or ivory craft paint
cheap mouse pad (new or old but in good condition)
gold craft paint or spray paint
SHARP scissors
blue painters tape
Mod Podge
Simply start with one of these bad boys. Make sure the mouse pad you’re using has a fabric on the top, rather than the hard plastic ones. Those are not going to be as easy to paint and may chip easier. 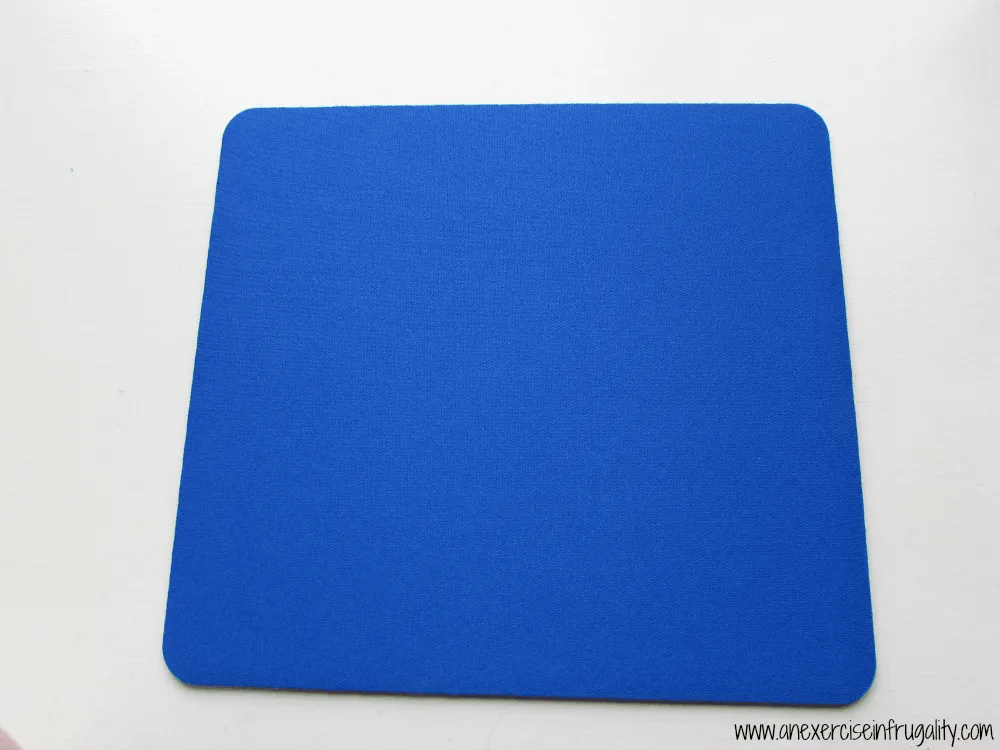
Now, you have to make a choice. You can either keep it a square, or make it a circle like I chose to. If you ‘re going to leave it a square skip the next two steps. Find a circle pattern to trace. For my purposes, a small salad plate worked perfectly. You want something small enough to fit fully inside the square, but not TOO small that you’re losing out on mousing surface.
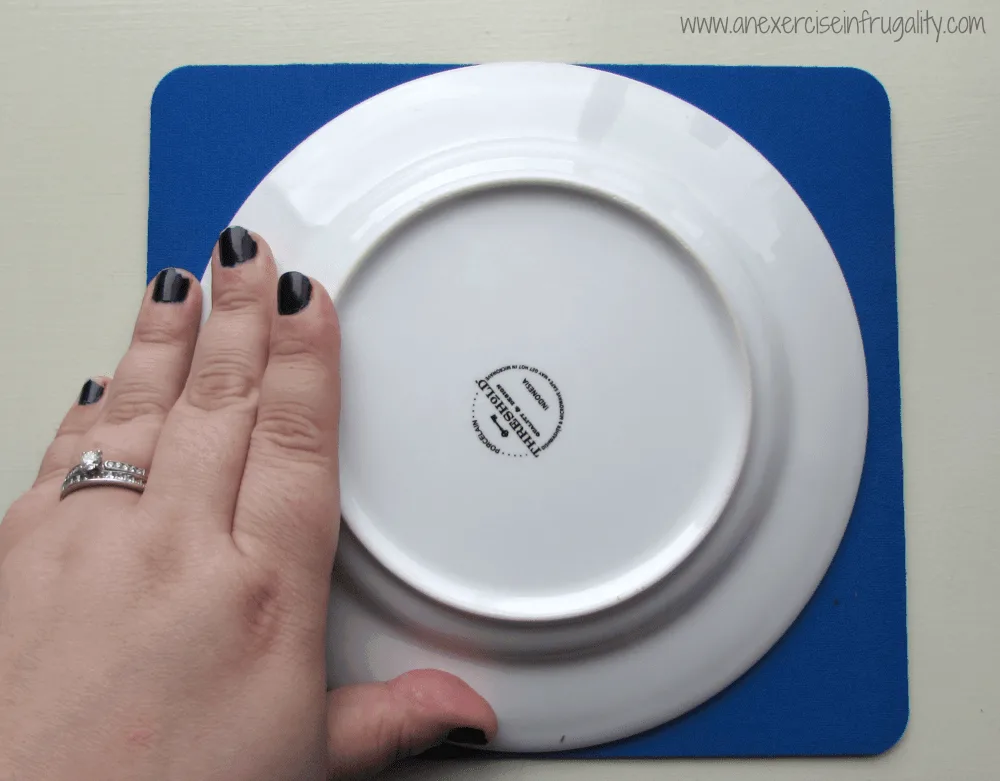
Please excuse the busted manicure. Trace around your pattern with a pen. Then cut along your trace line.
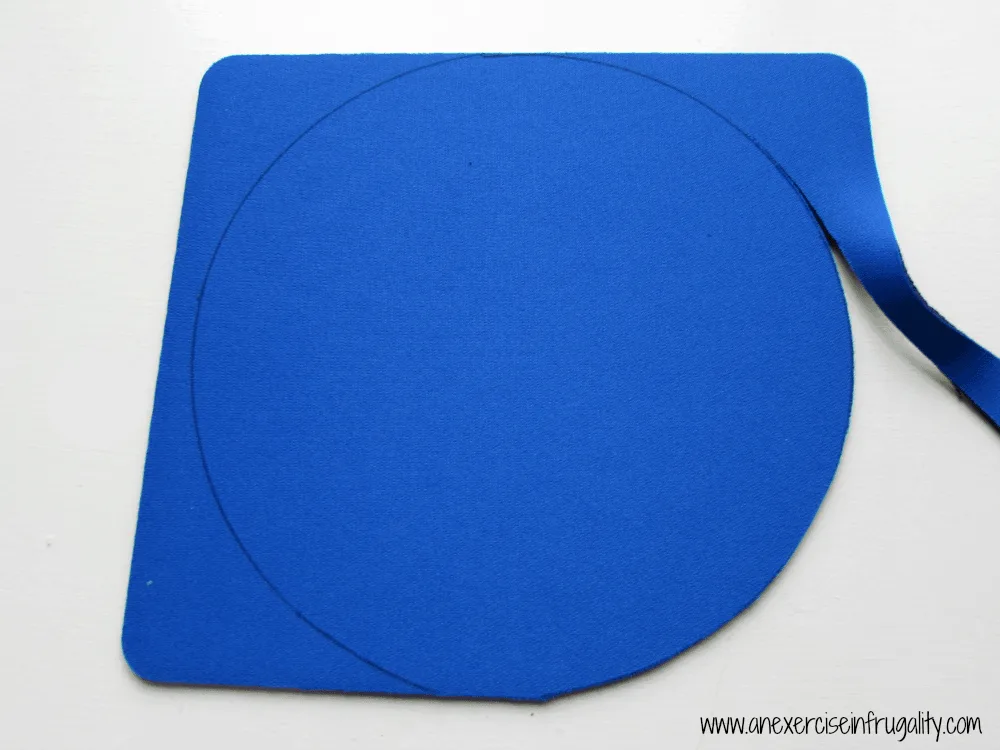
Cut carefully, and use really sharp scissors to make sure your circle is as close to perfectly round as possible. Then paint the whole thing white (or ivory if that’s what you’re using). Let the first coat dry and do a second coat and a third if necessary. You want thin, even coats that cover up any blue from showing through.
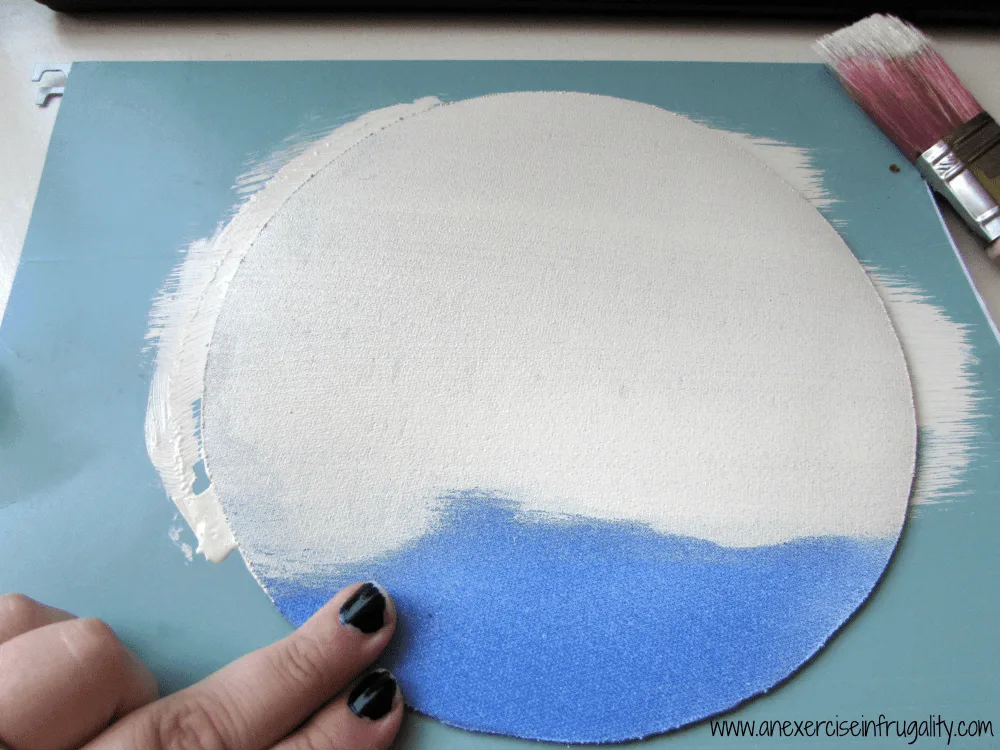
Again with the shoddy nail polish. I really oughta invest in a good topcoat. Oy. Next comes the part everyone fears: marking off the lines. Its really easy though, I promise. You’re going to tape the whole thing. Yep, you read that right. The whole thing should be carefully taped, with no overlap. Like so:
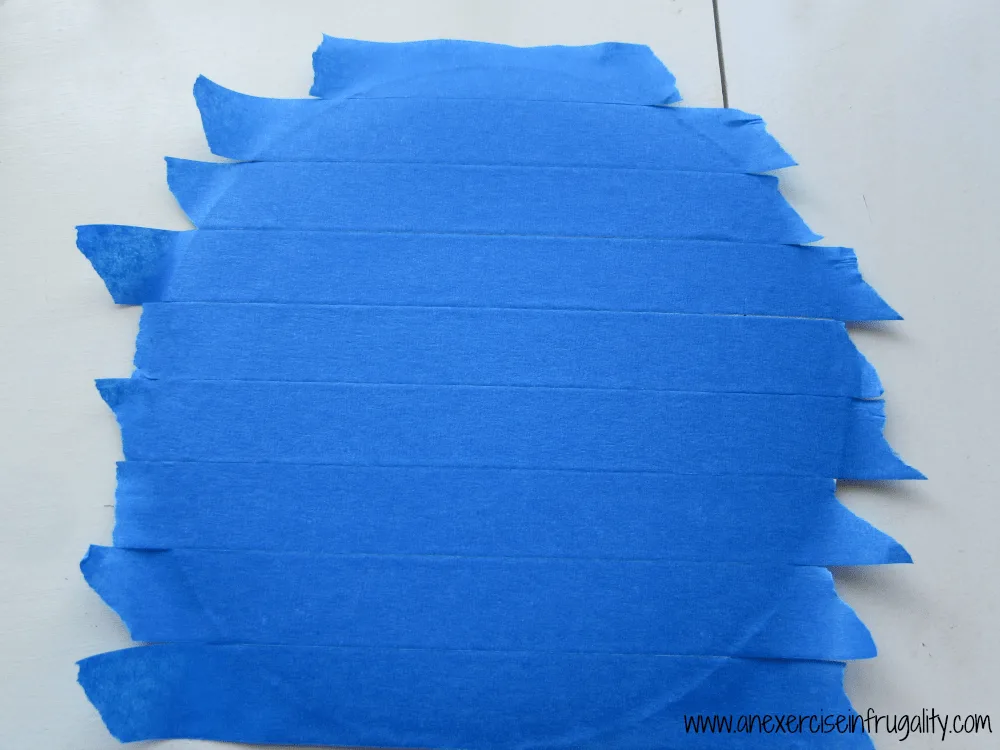
You’re probably thinking I’m nuts. But there’s a method to my madness. I promise.
Now comes the fun part. You’re going to remove every-other piece of tape. This makes for perfect, evenly spaced lines. Choose whether you want to start by removing the first piece of tape, or the second, and alternate from there. Whatever tape you remove is going to get painted gold. I chose to remove the odd-numbered (aka: first, third, fifth and so on) so that my bottom and top would stay gold. The choice is yours, purely a matter of preference.
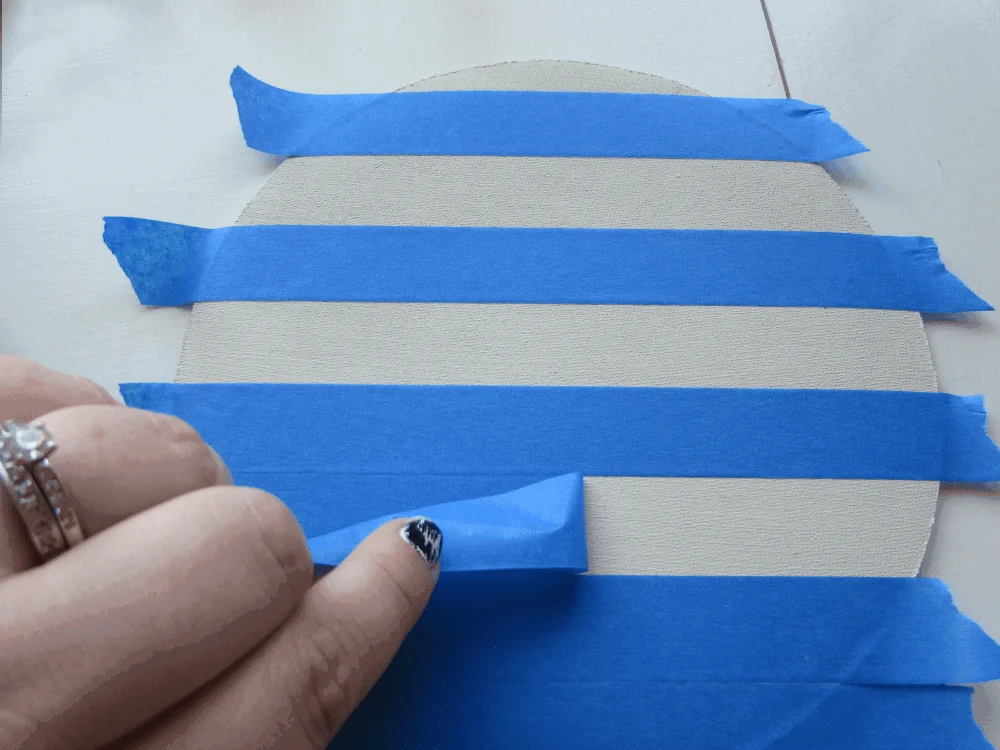
Once you’ve removed your tape, spray or brush on your gold paint to the exposed lines.
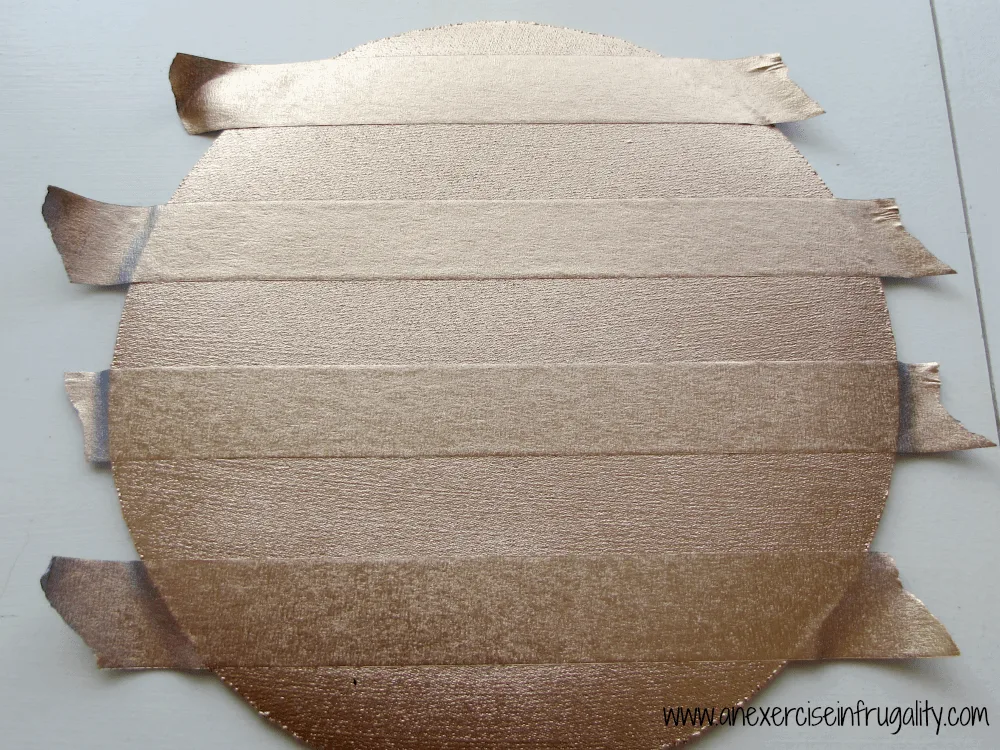
Wait until the gold paint is totally dry, then do a second coat. The whole point of gold is so it looks rich and luxurious so make sure that there’s no white peeking through! *UPDATE: I have had a few people ask what gold paint I used. I chose Design Master One Coat Metallic 24KT Gold spray paint. It’s held up great with the clear Mod Podge!
When your second coat is completely dry, start gently peeling off the remaining tape.
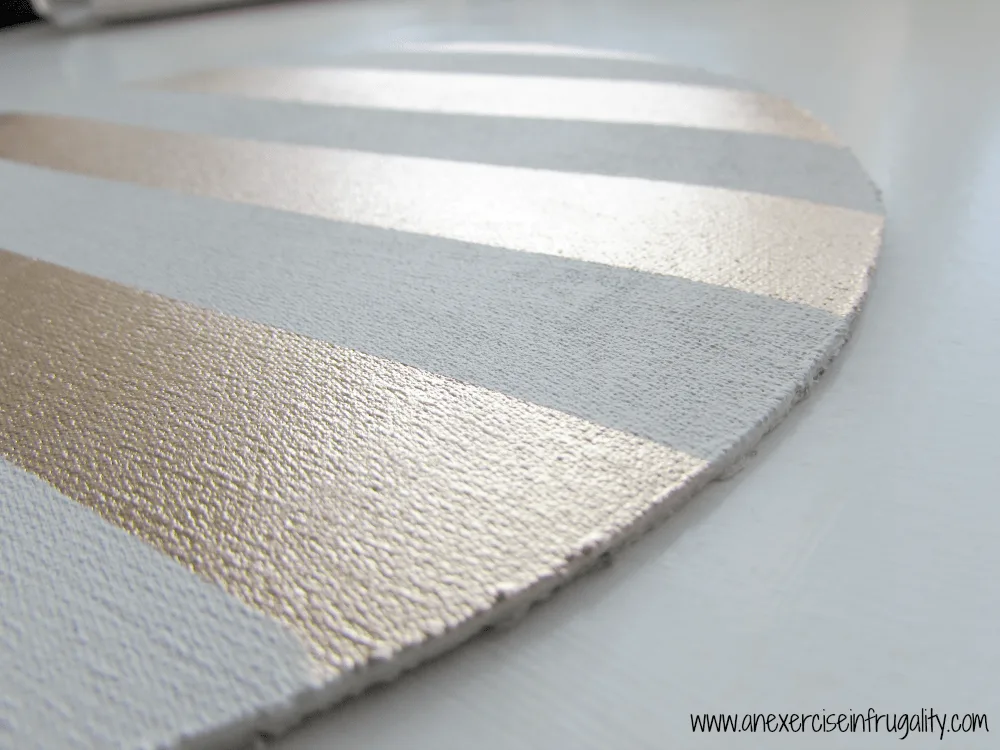
So purdy!
Now before you start using it, make sure to give it two to three thin coats of Mod Podge. I chose “matte” so that it wouldn’t be glossy for two reasons. One, I didn’t want a glossy look, but more importantly I wasn’t sure if the high gloss finish would interfere with the functionality of the mouse, given that it uses laser technology. Don’t skip this step-I tried doing it without the clear coat on top, and within a couple hours my gold was scratching off, and I had to repaint it. Not worth the hassle. Take the time and do the clear coat. You won’t be sorry! You’re gonna want this gold mouse pad to last a long time because it’s so gorgeous.
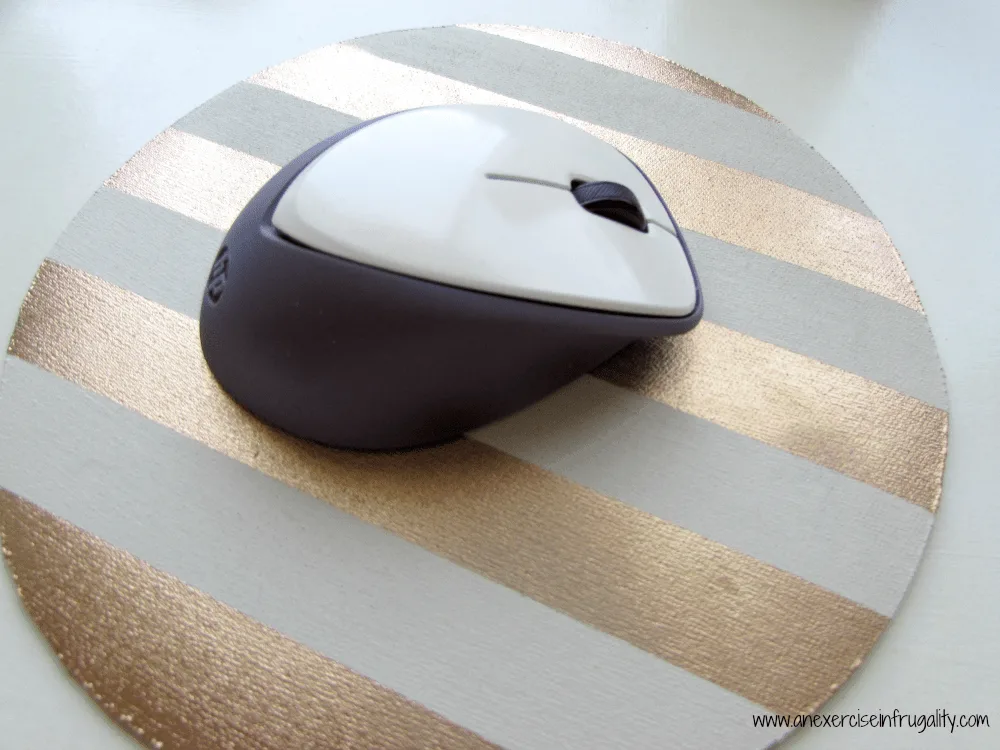
Please excuse my cruddy mouse. Its a little old and it doesn’t match, but it still works well, so I have yet to replace it. Maybe soon though…
Anyway there you have it! Super easy, and since I already had paint and stuff in my collection, this cost me a grand total of $4.00 to make this gold mouse pad. If my old one was in usable condition, it would have been a free upcycled project, so if you can get your hands on an ugly mouse pad that still has some life left in it, this DIY gold mouse pad is a great way to revamp it.
Of course you could paint your stripes something other than gold too, but I have been on a gold kick lately. I’ll post about my other gold desk accessories once I get those painted. Can’t wait to see how it all looks in my new office!
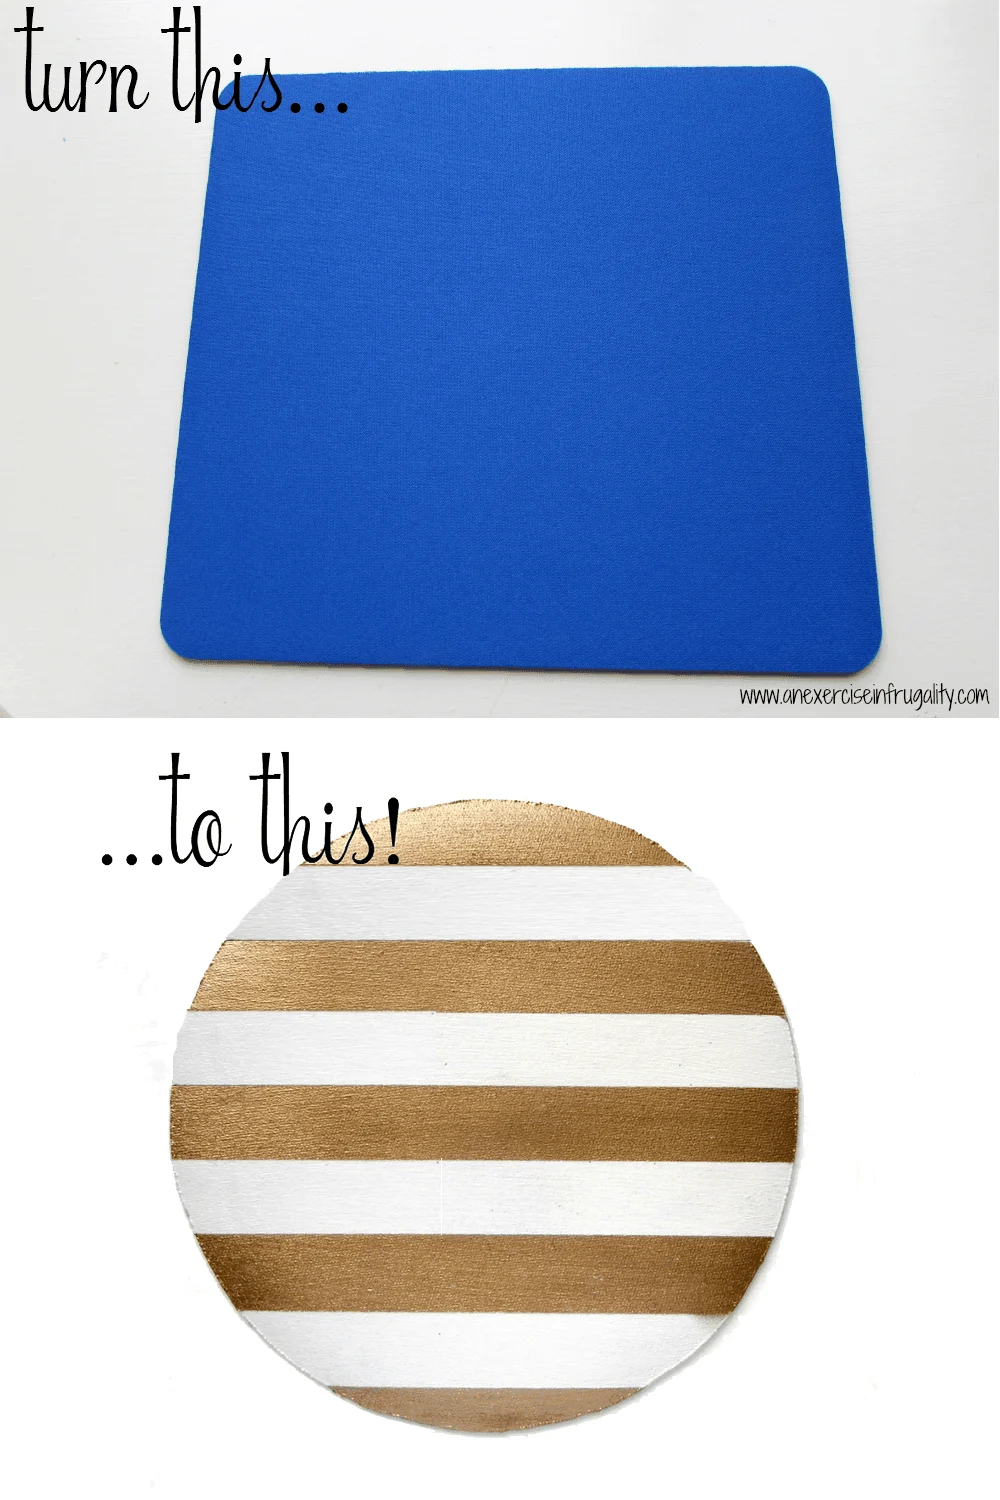
What do you think of my DIY Gold Mouse Pad?
[share]
[disclosure]

Wednesday 14th of May 2025
1*1
Wednesday 14th of May 2025
1
natalie
Friday 15th of June 2018
Thanks for the tips! My school's tech department was throwing out a box of those bright blue mouse pads still in packages. I said that looks like a fun summer camp craft! I will have campers paint a design of their choice with regular acrylic paint, then add a few coats of modge podge.
An Exercise in Frugality
Friday 22nd of June 2018
You're welcome! That sounds like a great score Natalie and a fun project for your campers. I've never much been a fan of the bright blue mousepads (haha), but I bet your students will have some fun creating some beautiful custom ones!
20 Eye Catching DIY Mouse Pads - Leah Nieman
Tuesday 30th of May 2017
[…] DIY Gold Striped Mouse Pad Tutorial from anexerciseinfrugality.com […]
Thursday 28th of January 2016
How many times did you apply the clear coat?
An Exercise in Frugality
Thursday 28th of January 2016
Its been a while so I am not 100% sure but I believe it was at least 2 if not 3. :)