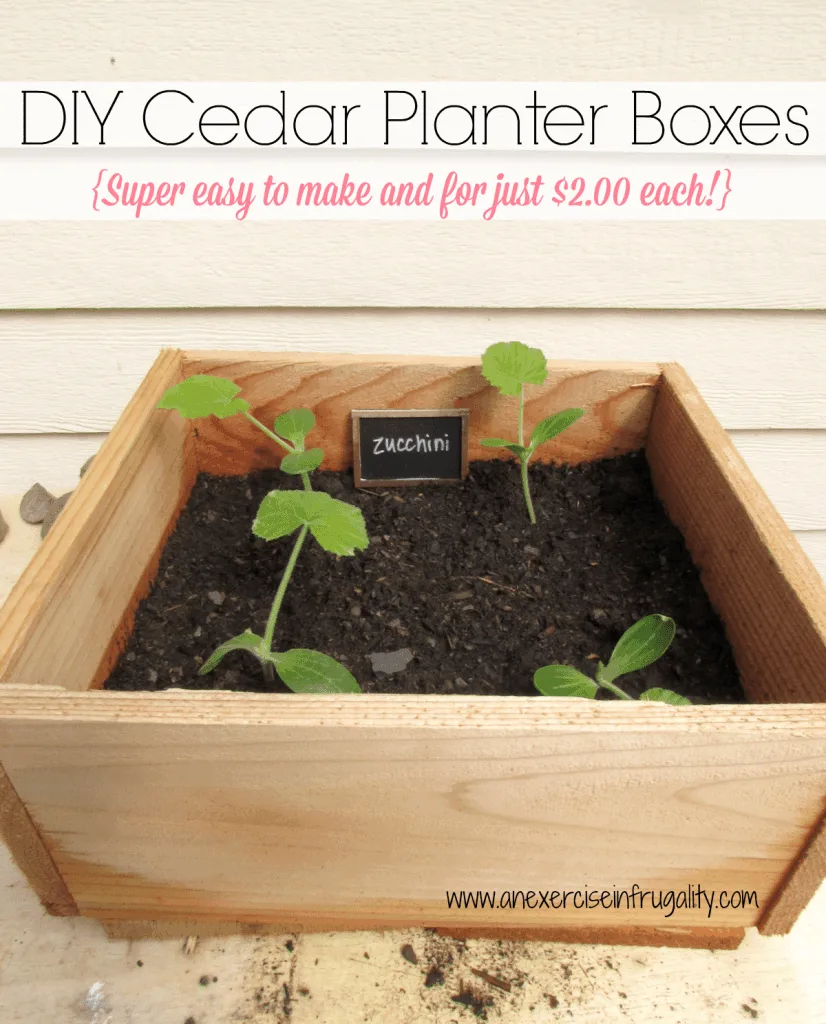
I’ve been wanting to do a garden for several years and just never got around to it. But now that we’ve moved to Oregon where the growing season is much longer than in Minnesota, I decided it’s time to get my butt in gear. Not to mention the fact that we’ve made the shift to a healthy eating lifestyle and are going through produce like its going outta style! I wound up deciding to build some DIY planter boxes because of our unique “gardening situation”…
I mentioned in my post about how to save money while eating organic foods that the cheapest possible way to do that is by growing your own garden. That being said, I faced some obstacles while setting up my garden.
First of all, we are currently renting a house. Not only are we renting right now, but we are hoping to buy a new home in the next 6-9 months, if not sooner. That means I can’t go digging up the yard where we live now (because it’s not mine) and even if I got permission to do so, I wouldn’t want to because as soon as we find a place to buy, we’re outta here. So if I planted a garden in the ground, I wouldn’t even get to enjoy the fruits (and vegetables) of my labor! No way!
So I had to come up with a way to make my garden totally portable, while still staying true to the safe, organic methods of growing. Oh, and I couldn’t afford to spend a fortune on planters (I did mention we’re trying to buy a house, right??) so I had to do a little research.
I came upon a book called All New Square Foot Gardening that seemed perfect. It focuses on growing maximum produce in a minimal amount of space. This is exactly what I needed! The only downfall is that they show raised plant beds, marked off with string. These wouldn’t work for me, because of their lack of mobility, but the idea inspired me. I decided that I would need to get “square foot” sized containers. I headed to the two big home and garden centers near by, only to find little that fit this description.
I wanted to avoid plastic, simply because we are trying to reduce plastic in our lives at home and I worried about chemicals from the plastic leeching into the soil. That meant I would need to use wood.
Most wood needs to be painted or finished though, and this brings in the issue of paints and stains that might poison the soil as well. No good! Then I discovered that cedar does not need to be stained, and is untreated. Perfect!
But cedar planters are NOT cheap. In fact, the cheapest ones I was finding were $20 on sale! Since I was doing the square foot garden, I was going to need 32 of them. YIKES! No thanks!
So I decided my best bet was to build the individual boxes. I headed to the lumber section, only to calculate the amount of cedar I would need, and find that it was totally out of my budget too. CRAP! But then as I wandered through the garden department again, something caught my eye. Cedar fence pickets! BINGO! They were cheap ($1.69 each) and would work perfectly!
They are simply flat boards of cedar used to make fences, though the tend to be a little rougher and not as “nice” quality as regular cedar boards, but for our purposes, they are perfect-o!
The cedar fence pickets are about 6 inches wide by five feet long. I cut each picket into five one-foot-lengths. You need six one foot boards to make a box. That means each box will cost you around $2! You could also do this project with reclaimed wood (like pallets) but make sure that the wood has not been chemically treated or it could leech into the soil.
How to make DIY planter boxes for square foot gardening:
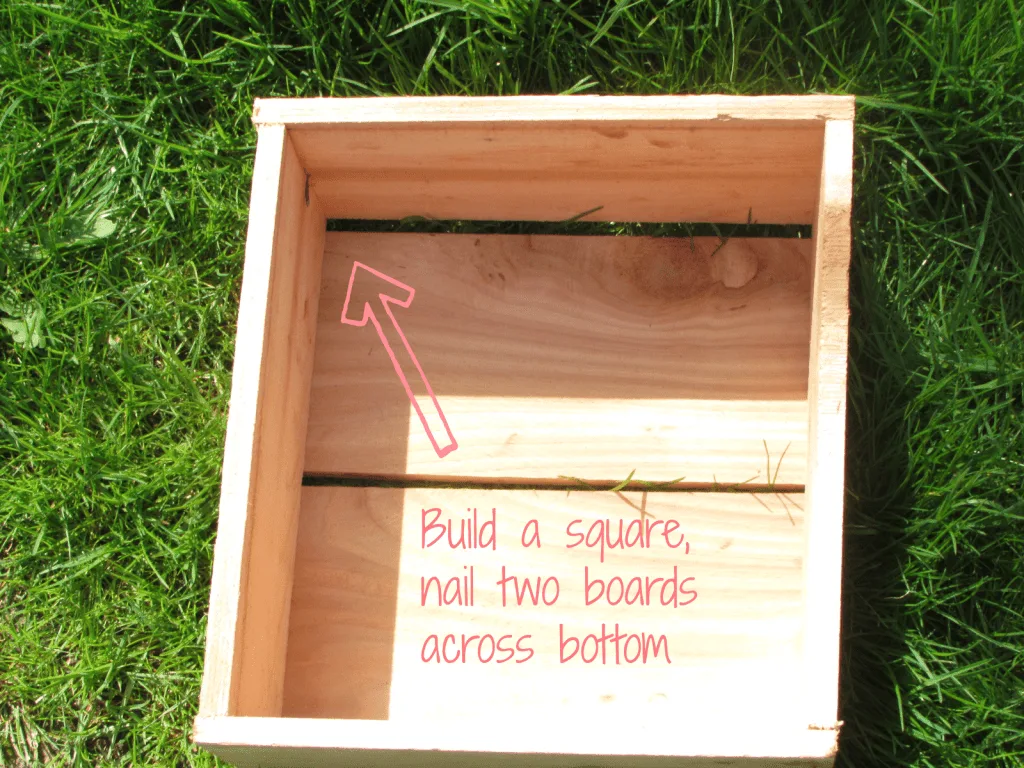
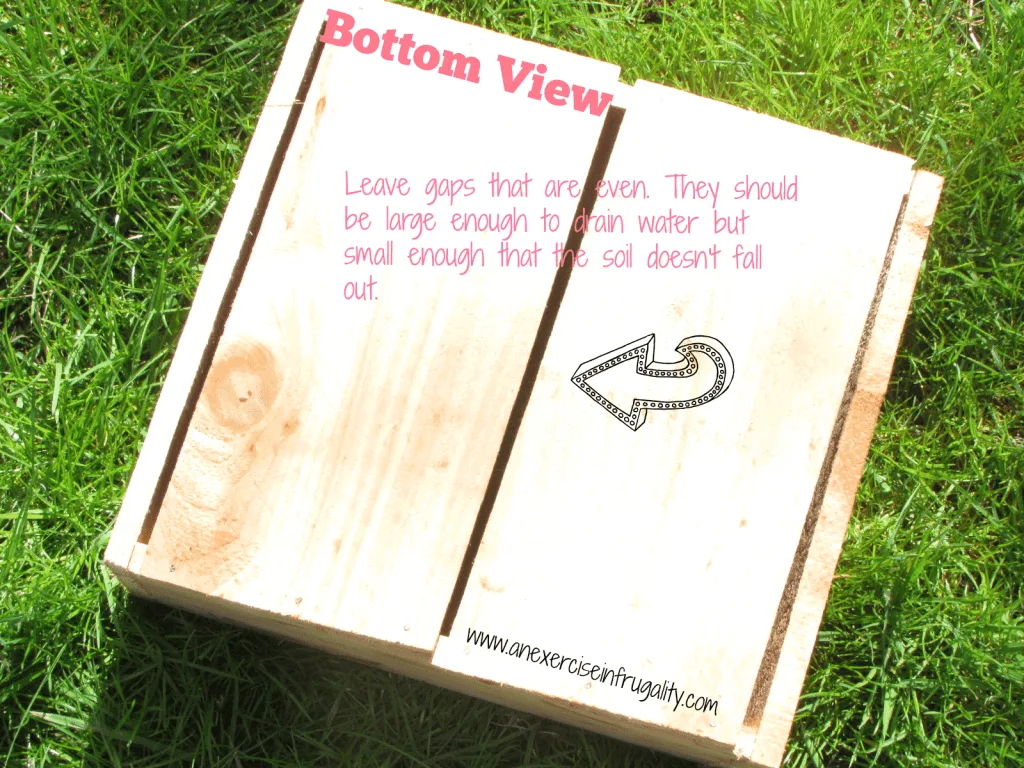
To prevent soil from falling through the cracks in the planter boxes, line the bottom with a folded sheet of newspaper, or recycled kraft paper. This will allow the water to drain out as needed, while still keeping the soil in the box. It also helps prevent weeds from coming up.
You can place the boxes on the ground, or on your deck or patio. Keep in mind though, if you put them in the grass it will kill the grass beneath them. I put mine on our deck in the corner. You can arrange them however you want based on the space you have.
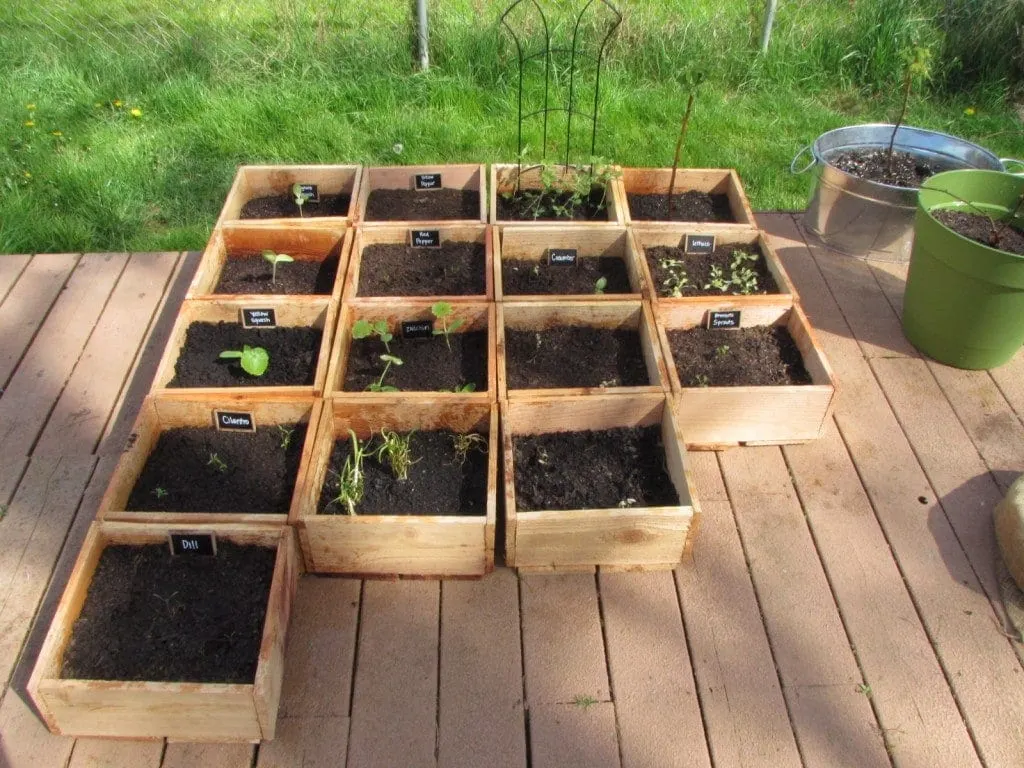
Here’s a close up of the finished product: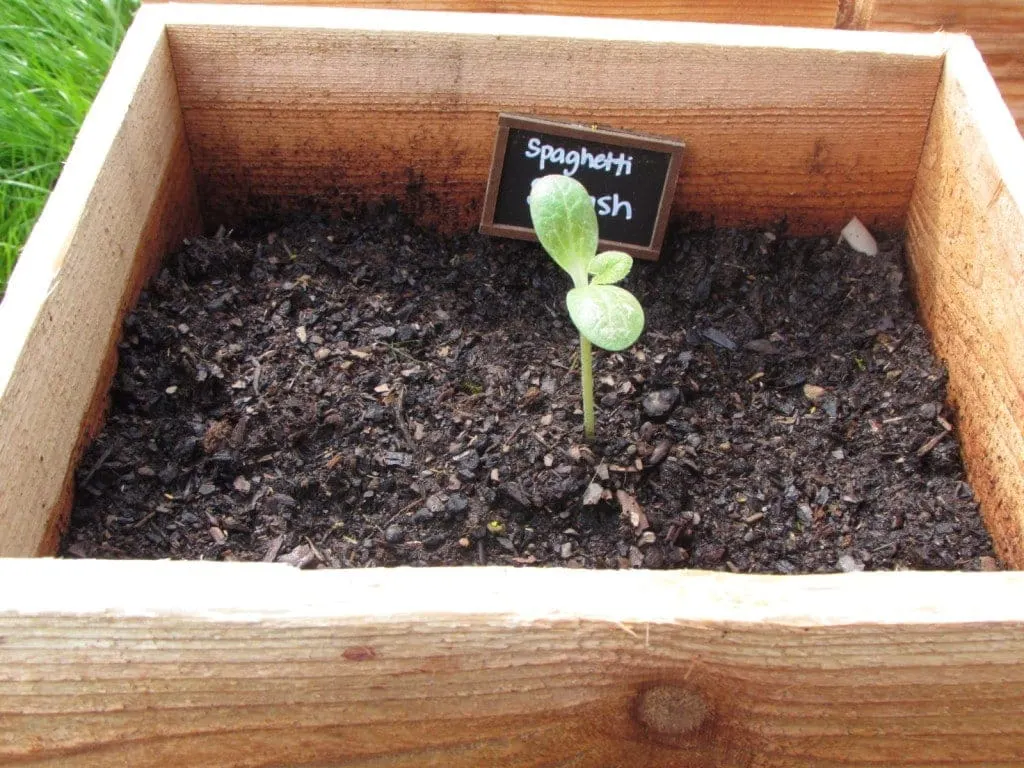
This is a very easy project to do. I would say each box took me anywhere from 5-10 minutes to assemble. I wasn’t careful about making perfectly straight cuts because these are just rustic planter boxes so if you want yours to look perfect it might take you a little longer. I would say these worked pretty well for my purposes and are very easy to move even when fully loaded with soil and plants.
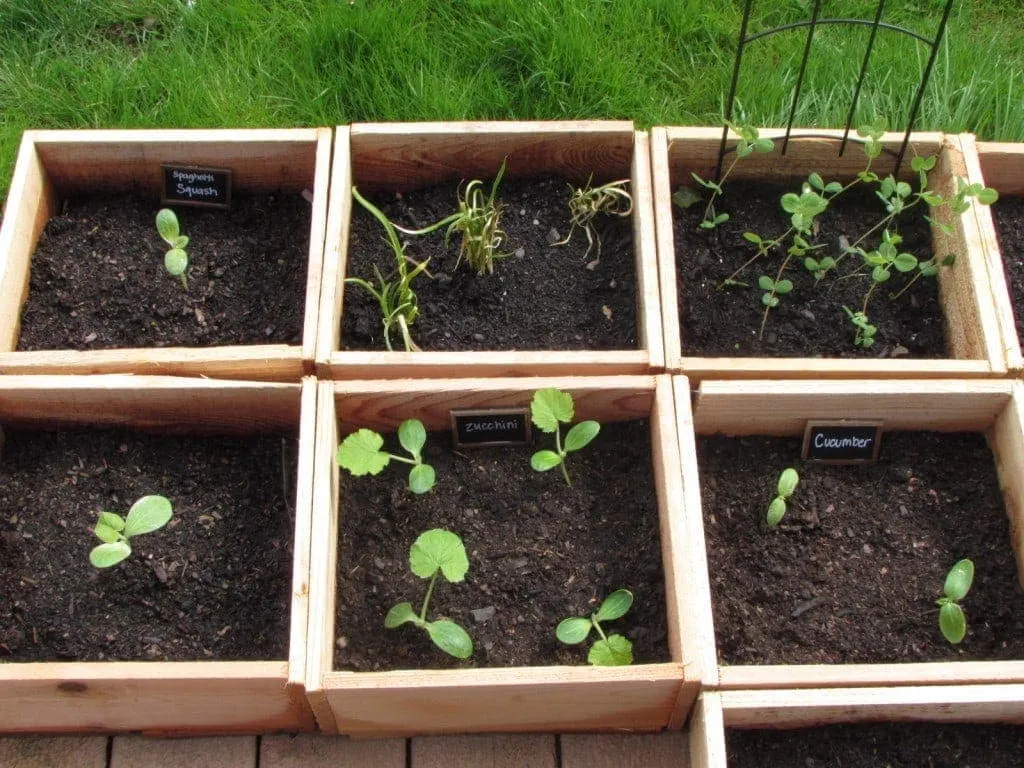
I recommend putting a little more soil than you think you need into the planter boxes. Mine got tamped down when it rained and now its not really as deep as it should be.
You could use the cedar fence pickets to make window boxes and rectangular shaped planter boxes too, I just chose to do mine as squares due to the fact that I’m doing the Square Foot Gardening.
So that’s it! Easy as pie!
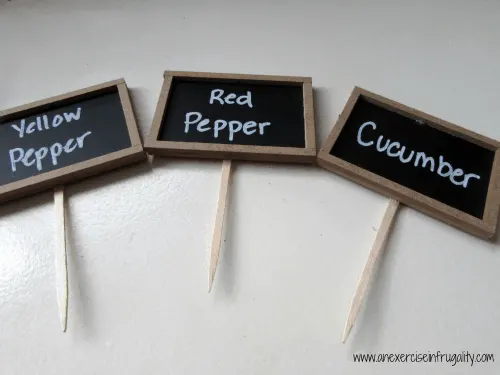
PS: if you like the “chalkboard” signs with the plant names on them, I got them at Joann Fabric. I hot glued a wooden pick to the back, and used a permanent paint pen to simulate “chalk”.
What do you think of my DIY Cedar Planter Boxes?
[share]
[disclosure]

Len Sessions
Tuesday 28th of June 2022
8 years later this is exactly what I needed to see...
Alisha
Saturday 22nd of April 2017
Rose these are so darn cute!!! I've been wanting to grow a few herbs because they cost entirely too much in the store...LOL. I'll have to try and attempt to make some so you can laugh when they turn into an epic fail LOL
An Exercise in Frugality
Thursday 27th of April 2017
Thanks lady! Give it a go, they are pretty simple to put together. I will only laugh a little ;) I love that they are totally mobile!
The Cultured Cave » From Black Thumb to Green Thumb
Tuesday 10th of May 2016
[…] My strawberry plants are in raised boxes. My husband made some individual cedar boxes for me. I transplanted the strawberry plants into it last year when the community garden shut down. […]
Keri
Friday 18th of March 2016
This is a great idea. My husband made these last year for me, using your instructions, and they worked our very well. I am in the exact same situation as you were when you wrote this post. We might make some more to use at the community garden if we don't find a house soon.
Thanks for sharing.
An Exercise in Frugality
Sunday 20th of March 2016
Well I am glad you found the post useful. Its a pretty economical way of building planter boxes, so it would be perfect for the community garden because they are movable! Good luck with your garden, and thanks for reading! :)
Sherri Jo
Thursday 1st of May 2014
I love this idea... I think it would be great with my limited outdoor space :)