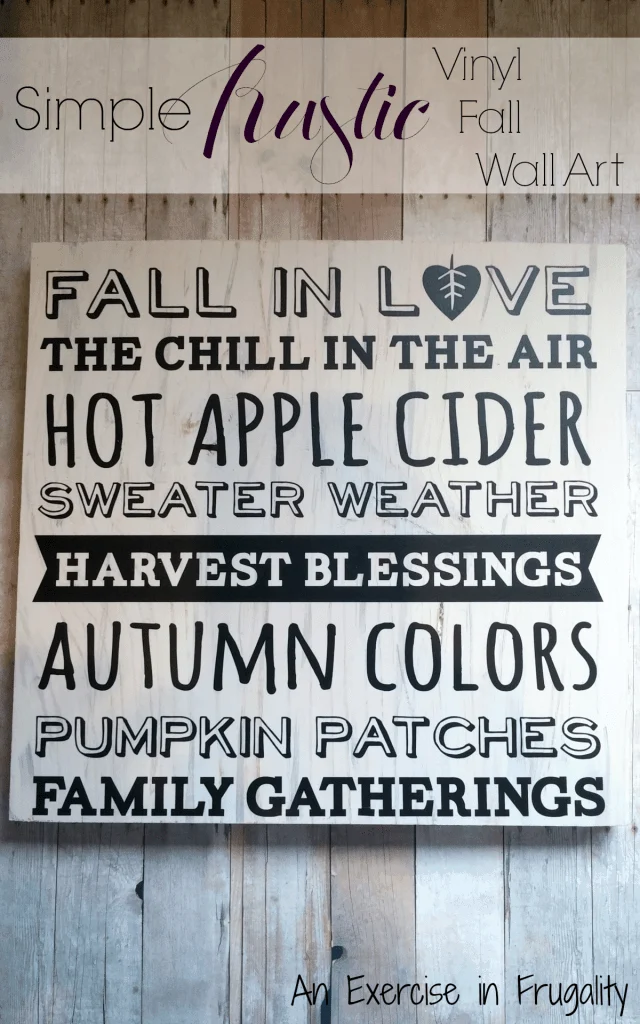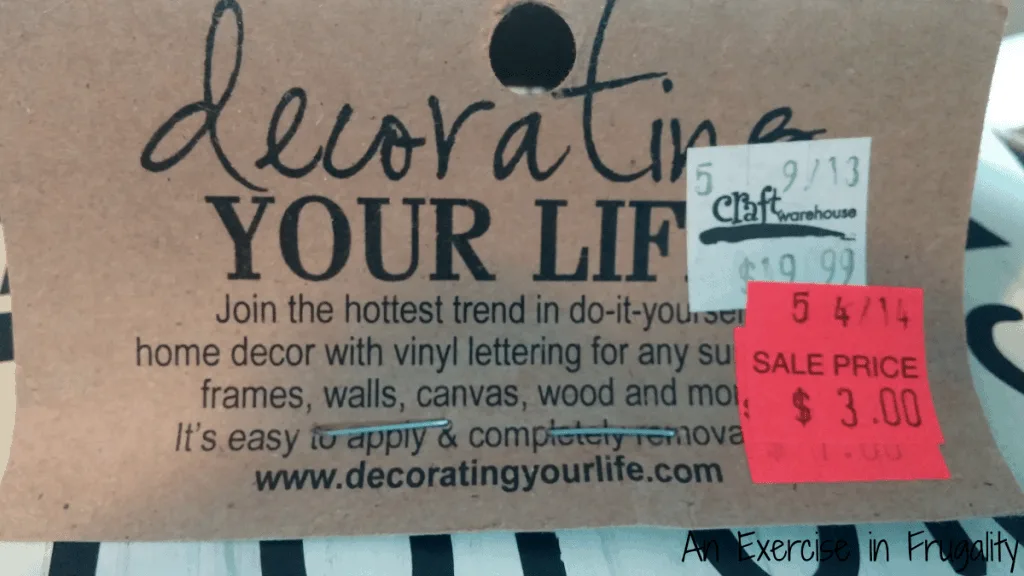
It seems like everywhere you look, vinyl wall art is taking center stage. I love the look of “subway” art, but I am also a fan of fonts. So when I found this vinyl design at a local craft store, I knew I had to have it. It perfectly captures all my fall favorites.
Of course the fact that it was on clearance *might* have made it speak to me even louder.

I mean, for 3 bucks how can you go wrong?
So all I needed for this easy-peasy project was the vinyl kit, which in this case was by Decorating Your Life, some leftover craft paint, a piece of leftover wood, and a professional artist tool: paper towels. I guess you can say this is a project of leftovers…with the exception of the vinyl of course. You can get these vinyl lettering kits at any craft store, there’s a ton of brands that sell these in various styles and with all sorts of sayings.
Its so simple, I took the wood I had leftover from making my Pottery Barn knockoff desk (stay tuned for a post about that soon!) and cut it down to approximately 12 x 12 inches. I used some ivory craft paint to paint a thin layer on the board but instead of using a brush, I used a paper towel to spread the paint on. This way it would remain semi-translucent. Then I took a gray paint and with a thin paint brush, painted over the naturally occurring lines in the wood. Before they dried, I “wiped” the gray paint off, which basically left just a faint trace of paint. It gave the wood a slight white-washed look, which was what I was going for with this rustic motif.
If you want it to look really shabby chic, you can distress the wood further at this point with sand paper before applying the vinyl, but that is optional.
All I had to do then was apply the vinyl. Basically you burnish the front of the sheet with a credit card, then peel off the backing, apply the sticky vinyl to the wood, and then again burnish with a plastic card before peeling off the paper. The vinyl will adhere to your wood, and you’re all set! This project took less than 15 minutes, it was so simple and cost practically nothing. The only cost really is the vinyl, as the other supplies you can use items you already have.
There’s tons of cute vinyl lettering to choose from. Here’s a few of my favorites:
Vinyl Krazy Fall Autumn Vinyl Lettering has a ton of cute designs! Also I have found some festive fall vinyl on Amazon too:
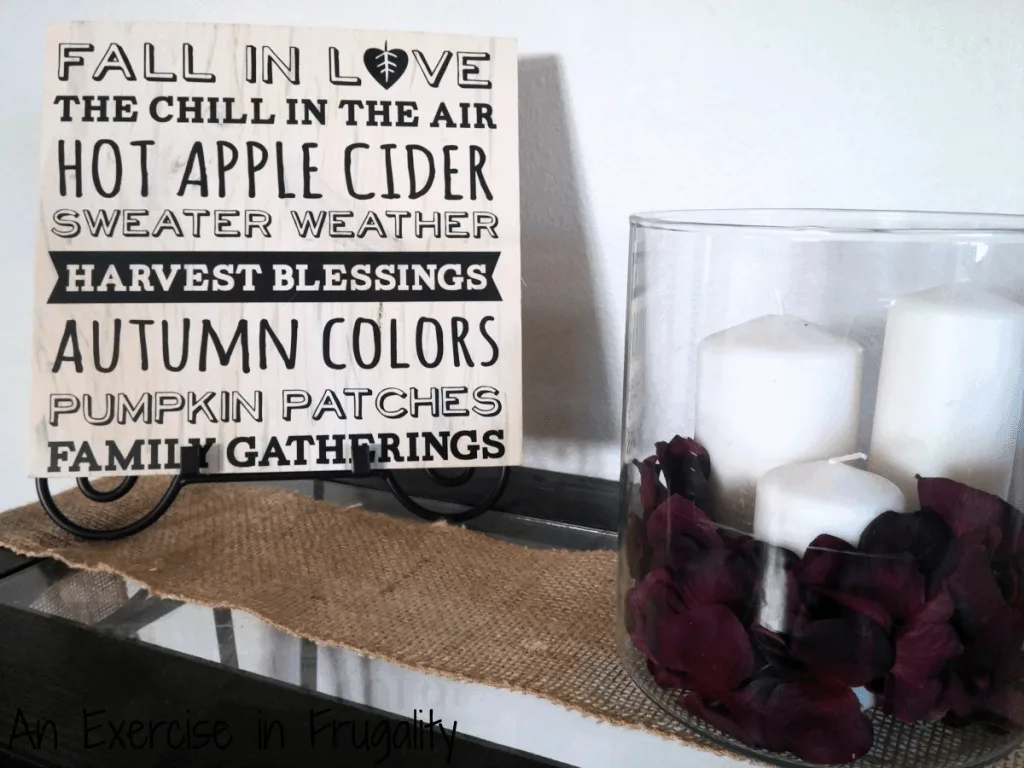
So here’s the finished piece on display. I need to work on my vignette sadly, but I have plans for that. Check back later for the details! Until then, my love affair with burlap continues. Oh, and speaking of burlap…I made a burlap wreath that is totally gorgeous, so watch for that coming soon as well. Yeah, I’m being a total tease today, but seriously I have all sorts of good things coming soon! (PS: If you’re looking for a sneak peek of the burlap wreath, check out the plum hydrangeas in that candle holder. Another ‘leftover’ from that project!)

What do you think of this Rustic Fall Wall Art?
[share]
[disclosure]


 (Source)
Beth
Monday 6th of October 2014
I've never seen anything like this before, but it's lovely! I'd like to create some of my own wall art some when, so i'll be bookmarking this for future reference. Thank you! Beth x
An Exercise in Frugality
Monday 6th of October 2014
Thanks so much, Beth! I have suddenly become obsessed with fall and fall decor, so this was right up my alley :)