
One of the ways I opted to cut my wedding budget (and add a little flair to our upcoming wedding!) was to create a framed chalkboard wedding “program”. You’ve probably seen these on Pinterest before, here’s an example:

So I got inspired.
I just had to find the right frame that would fit the bill…and the budget. So one dreary Sunday morning we headed off to Goodwill to scope out the deals. I found the PERFECT starting point. Then I discovered that on Memorial Day, Goodwill was offering 50% off the marked prices on furniture and hardlines! SCORE! So I waved “goodbye for now” to my already awesome $30 find, and vowed to come back first thing Monday morning to get it half off.
We returned Monday morning, and lo and behold, my precious was still there waiting. So here’s the story of how we got acquainted, and how it turned into the perfect piece!
It all started with a mirror. A very very dated mirror. A mirror that was definitely NOT the fairest of them all.
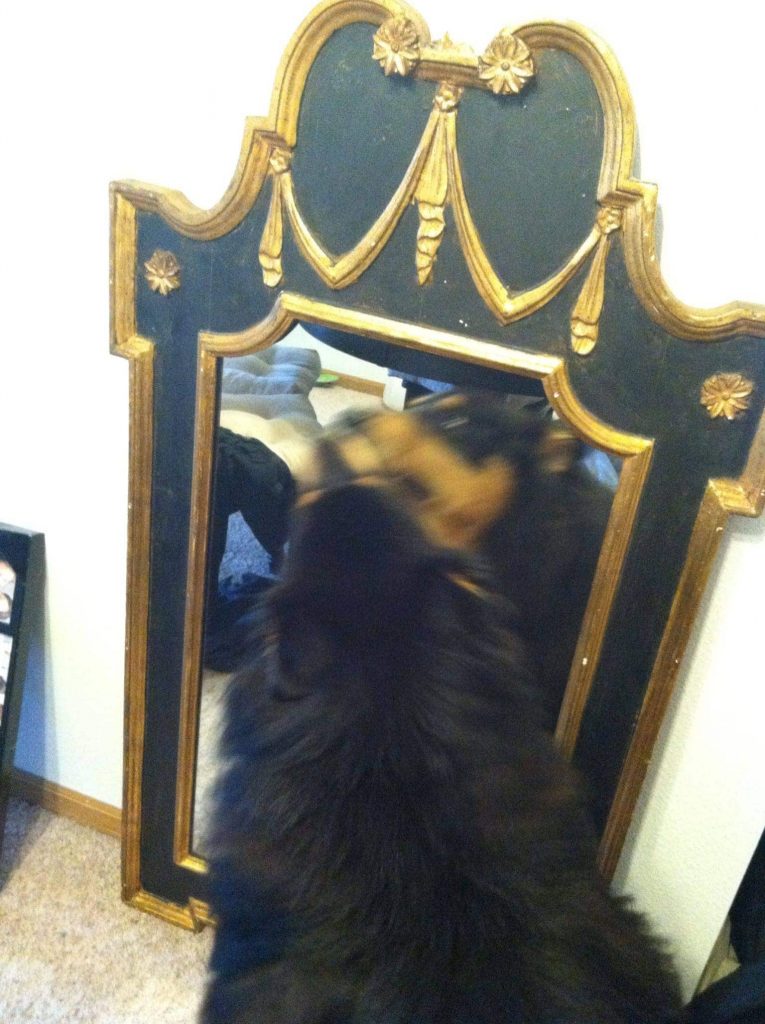
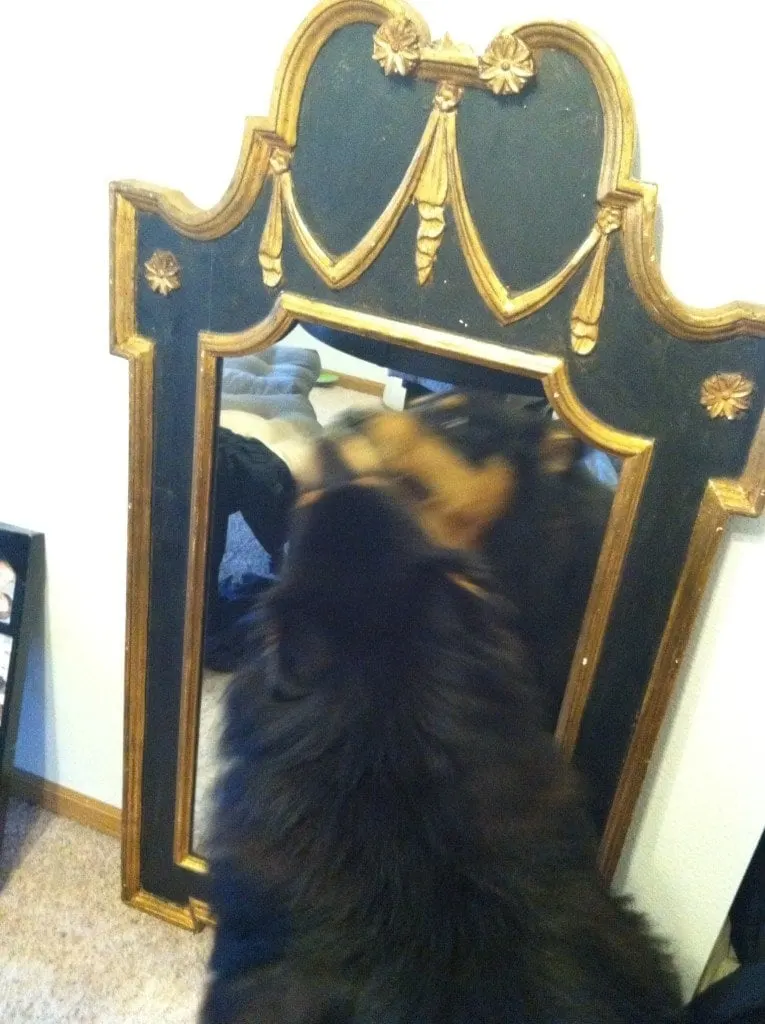
You can clearly see that even my dog wonders what I am going to do with this ugly piece of crap.
But you know me….I see potential beneath that beat up black and gold exterior.
Now I will confess something here. I did not properly prime this piece. I should have sanded and primed and been all official. But I didn’t. There’s two reasons for that. One-I had no idea how old this mirror was nor what the lead content of the paint might be. So I didn’t want to risk it. And two? Because I was being totally lazy. Don’t judge me.
That being said-It did take several layers of white paint to cover the black and gold. But as you will see, it was absolutely worth it.

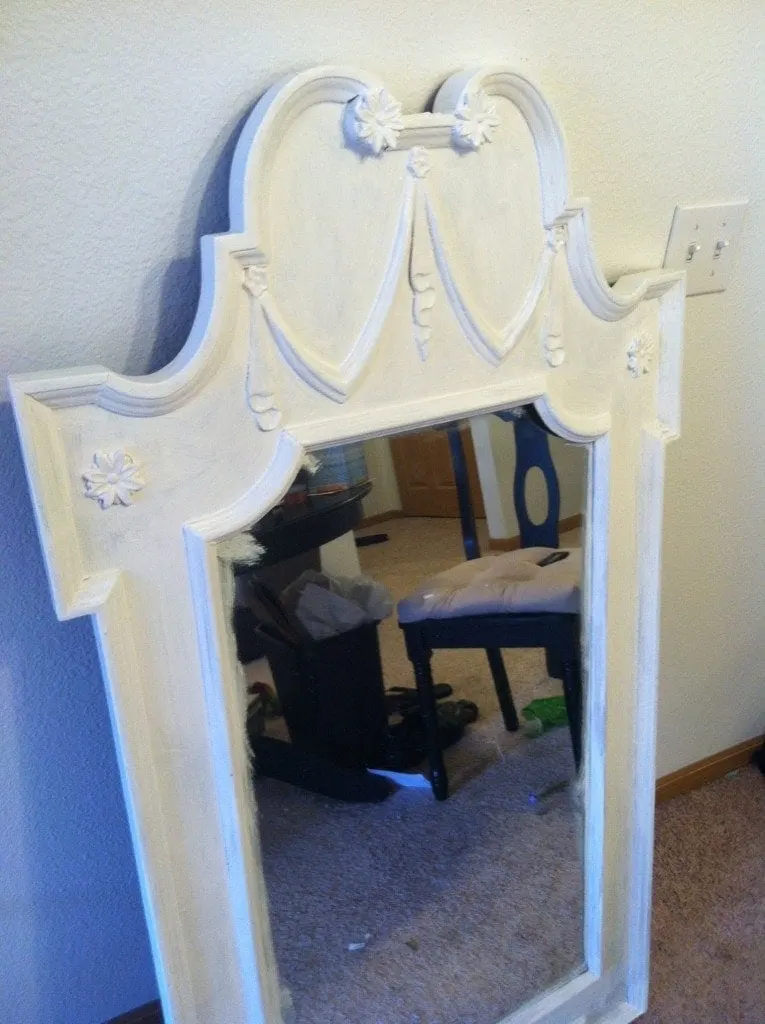
I would say three coats of white paint were required to totally cover the black. This is only one coat in I believe. Please excuse the mess being reflected in the mirror; I was busy crafting. I just used basic acrylic craft paint (the kind you get for like $0.99 a bottle at Michael’s.)
The color I used was White Wash by Americana, but really, I promise, any white will do, so don’t stress over it.
You’re probably wondering why it’s still a mirror and not a chalkboard. Well that was the final step.
I decided that we would probably use this in our home after the wedding as well as a piece in our kitchen or dining room. I wanted to have options so I removed the mirror, flipped it over and used Krylon Chalkboard Paint in black to create a chalkboard finish. This way, I can have the chalkboard or reverse it back to the mirror side if I choose to. I love versatility!
This required again about three coats to create the desired chalkboard texture. Here’s a picture of the final result:
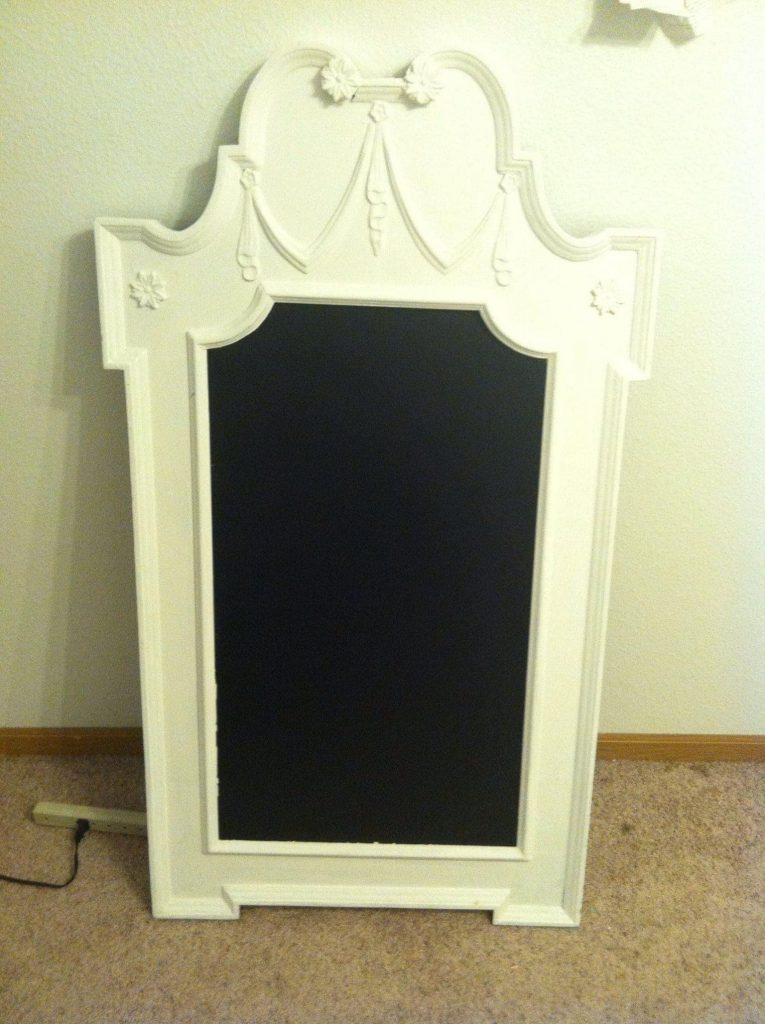
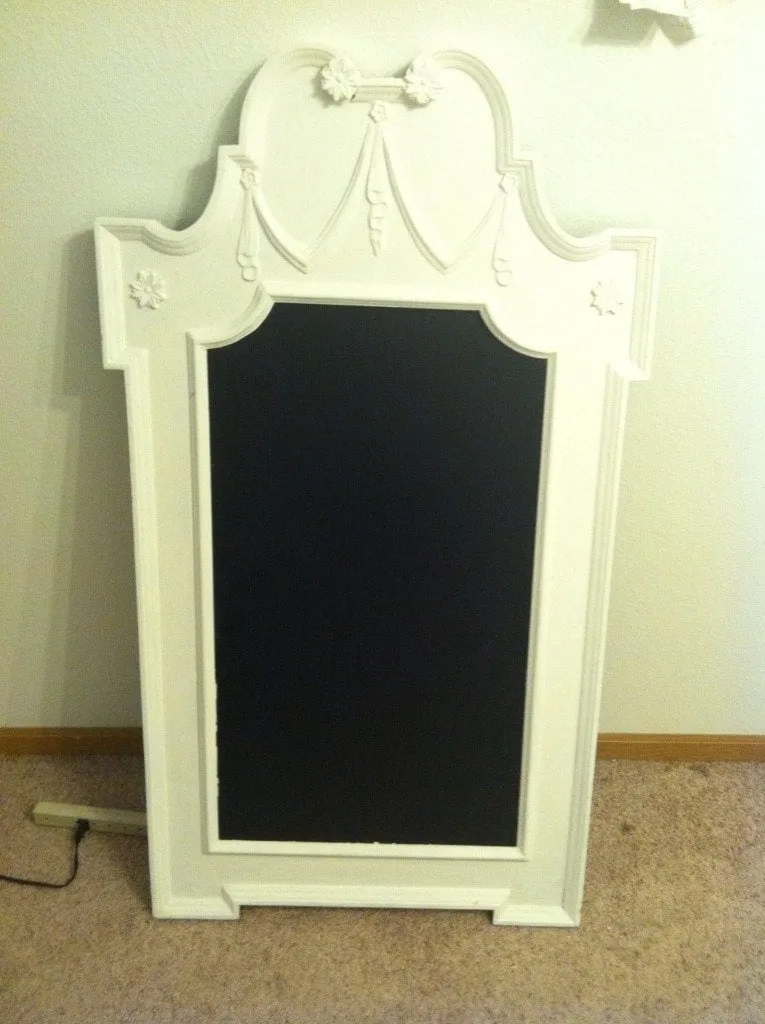
I’m pretty pleased with how it turned out. Now we just need to “cure” the finish by rubbing chalk all over and erasing. But first I uh, have to go buy chalk. Whoops.
So our plan is to write out the program here, and display it as you walk into the ceremony. I didn’t want to waste money on programs. I used to work in a major printing facility where people printed wedding programs all the time, and the general consensus was that people glanced through them and then chucked them after the ceremony. So instead of wasting trees, paper, time and money, I decided to go this route. What do you think?
**UPDATE** Here’s how it looked at our wedding. Instead of using actual chalk, I decided to use a paint pen, to achieve a bolder look, plus my handwriting is bad anyway, and with chalk it just wasn’t working for me, but you can do either, just keep in mind if you use the paint pen, your results are permanent unless you get a CHALK pen. 🙂


What did you think of the Wedding Program Chalkboard Tutorial?
[share]
[disclosure]